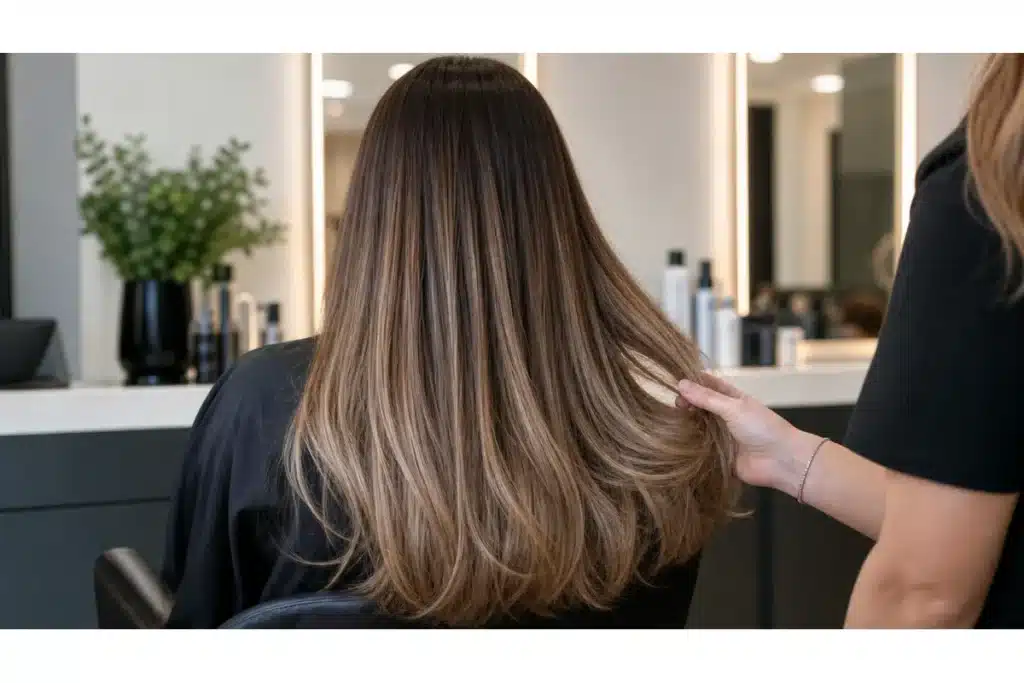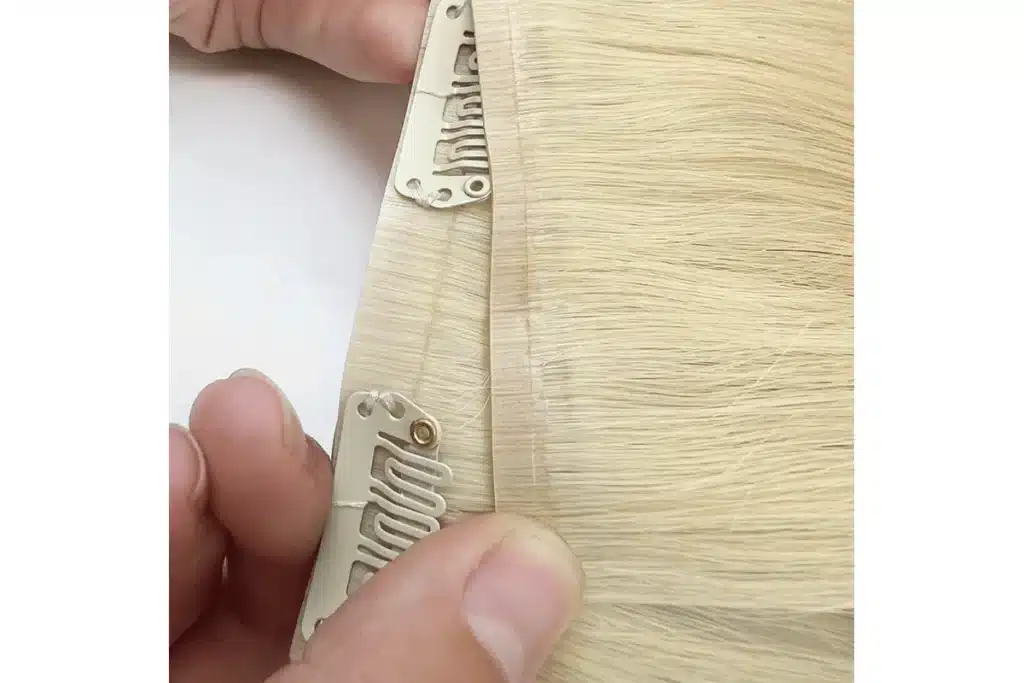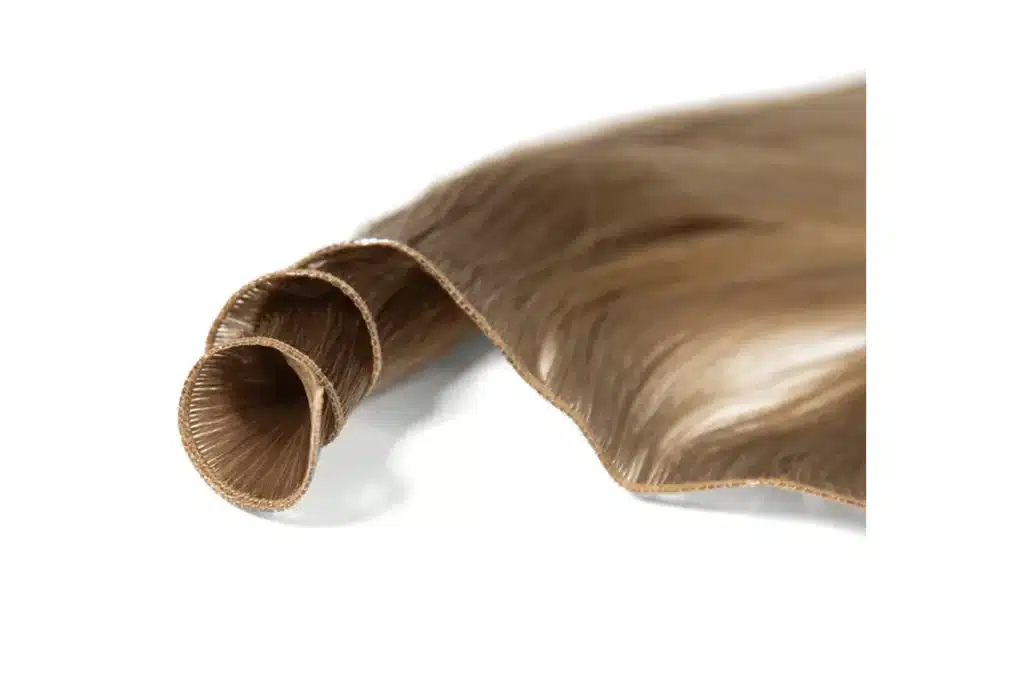
Place tape-in extensions about 1/4–1/2 inch from the scalp in clean, controlled sections. This space allows the tapes to lie flat and move naturally without pressing against the scalp or creating unnecessary tension.
The row position matters too. Leave enough natural hair around the nape, sides, hairline, crown, and parting to keep the tape tabs covered during normal movement and styling.
Correct placement depends on four things working together: scalp distance, clean sectioning, tape alignment, and balanced hair between the two tabs. This guide explains each step and the common placement mistakes that lead to slipping, buckling, tension, or visible tape lines.

How Far From the Scalp Should Tape-In Extensions Be?
The best practice for Tape In hair extensions placement is between ¼ to ½ inch away from the scalp. This distance ensures the extensions blend naturally with your client’s hair and helps them stay comfortable. If you place them too close to the scalp, they might not fall as naturally, which can create tension and cause the extensions to buckle. This misplacement can lead to pain and discomfort for your client and will likely reduce the longevity of the extensions.
Proper Tape In placement not only enhances the natural look of the extensions but also ensures that the hair moves freely and comfortably. This small adjustment can make a big difference.
Where Should Tape-In Extension Rows Be Placed?
Tape-in rows should be planned around the client’s natural hair coverage, not placed at the same height on every head.
Start in an area where enough natural hair remains below the row to conceal the tabs. As you work upward, leave sufficient coverage around the nape, sides, crown, parting, and hairline.
Avoid placing full-size tape tabs directly into highly visible perimeter areas. Clients who wear ponytails, half-up styles, or side parts need extra consideration because the attachments may become exposed when the hair changes direction.
Before sealing each row, move the loose hair in the directions the client normally styles it. If the tab becomes visible before installation is finished, the row needs to be repositioned.
How Much Hair Should Cover the Perimeter?
There is no single perimeter measurement that works for every client.
Fine hair usually needs more natural coverage above and around the tabs, while dense hair may conceal attachments with less depth. Haircut, parting, crown density, and styling habits should determine the final row position.
How to Place Tape-In Extensions Step by Step
Step 1: Prepare Clean, Dry Hair
Install tape-ins on completely dry hair with no oil, conditioner, silicone buildup, dry shampoo, or styling residue around the root area.
Poor preparation can weaken adhesive contact before placement even begins.
Step 2: Map the Rows
Plan the back, side, and upper rows before applying the first tab.
Keep enough natural hair around the perimeter to hide the attachments, especially for clients who wear ponytails, side parts, or half-up styles.
Step 3: Create a Clean Section
Create a section that matches the width of the tape tab.
The section should be even from side to side and contain enough natural hair to support the extension without preventing the two adhesive surfaces from sealing correctly.
Step 4: Keep 1/4–1/2 Inch From the Scalp
Position the tape approximately 1/4–1/2 inch from the scalp.
Check that the attachment can move naturally and does not press against the scalp when the hair is lifted.
Step 5: Align the Two Tape Tabs
For a sandwich installation, align the top and bottom tabs directly with each other.
The edges should meet evenly. Misaligned tabs create uneven adhesive contact and can lead to lifting or slipping.
Step 6: Apply Firm, Even Pressure
Seal the tabs with firm, even pressure across the full width of the attachment.
Pay particular attention to the corners and edges, where incomplete contact can lead to early lifting.
Step 7: Check Movement Before Continuing
Before moving to the next row, lift and move the hair in different directions.
The attachment should remain flat, comfortable, and hidden without pulling neighboring sections.
Why Is Tape In Placement So Important?
Getting the placement just right is essential for achieving a seamless look. Placing extensions too close to the scalp can cause friction and tension, which may lead to discomfort and breakage. It can also create noticeable bumps or lumps in the hair, detracting from the natural flow of the hair.
Additionally, if the extensions are applied too low on the hair shaft, they may not stay secure for as long. The sweet spot of ¼ to ½ inch ensures the extensions stay in place without causing strain on the natural hair or scalp.
Tape-In Placement for Fine, Thick, and Textured Hair
Fine Hair:Fine hair needs more attention to visibility and weight distribution.
Leave enough natural hair above and around each row to conceal the tabs. Avoid overloading a small natural section, and consider narrower or lighter tape formats when full-size tabs are difficult to hide.
Thick Hair:Thick hair can usually support more extension weight, but thicker sections should not be trapped between the tapes just because more natural hair is available.
The adhesive still needs complete, even contact across the tab.
Curly or Textured Hair: For curly or textured hair, follow the natural growth direction and section without forcing the roots unnaturally flat.
The attachment should still sit slightly away from the scalp and move comfortably. Do not place the tabs closer simply to make them less visible.
Do not place the tabs closer simply to make them less visible.
4 Common Tape-In Placement Mistakes
Mistake 1: Placing the Tape Too Close to the Scalp
Tabs placed too close to the scalp can buckle, restrict movement, create pressure, or feel uncomfortable.
Keep approximately 1/4–1/2 inch of space and check movement before sealing the row.
Mistake 2: Using the Wrong Amount of Natural Hair
Too much natural hair prevents the adhesive surfaces from sealing correctly.
Too little natural hair can concentrate the extension weight on a small section and create unnecessary tension.
Mistake 3: Misaligning the Top and Bottom Tabs
The two tabs should align evenly across their full width.
Offset corners or incomplete contact can create lifting points that later turn into slipping.
Mistake 4: Placing Rows Where the Tabs Cannot Stay Hidden
Rows placed too close to the hairline, parting, crown, or visible perimeter can show when the client moves or styles the hair.
Always check the client’s normal part, ponytail position, and preferred hairstyles before finalizing the row map.
If the placement looks correct but the tabs still slip after washing, check our guide to why tape extensions fall out after washing for prep, adhesive, and aftercare causes.
How to Keep Tape Tabs Flat and Secure
Secure tape placement starts before the adhesive is pressed together.
Check that the hair is clean and completely dry, the section is even, the tabs are aligned, and no stray hairs cross the adhesive area. Apply firm, even pressure across the full width of the tab.
After installation, inspect the corners and ask the client to move the hair naturally. A correctly placed tape should sit flat without pinching, buckling, or pulling.
For the adhesive itself, follow the specific tape manufacturer’s activation and aftercare instructions rather than applying one heat or pressure rule to every tape system.
What Salons Should Check When Testing a Tape-In System
Placement technique and product construction have to work together.
Before approving a tape-in system for salon use, test whether the tabs lie flat, align consistently, seal evenly, remove cleanly, and hold after normal washing and maintenance.
For repeat purchasing, we also recommend checking tape width, adhesive consistency, hair weight per piece, shedding, after-wash softness, and whether replacement tabs perform consistently across batches.
FAQ: Tape In Extensions Placement
1.How Far From the Scalp Should Tape-In Extensions Be Placed?
Tape-in extensions are generally placed about 1/4–1/2 inch from the scalp. This gives the attachment enough room to lie flat and move naturally without pressing against the scalp.
2.What Happens if Tape-In Extensions Are Placed Too Close to the Scalp?
Placing tape-ins too close can create pressure, buckling, restricted movement, or discomfort. It may also make the attachments harder to hide when the hair moves.
3.How Much Hair Should Go Between Tape-In Extensions?
Use enough natural hair to support the extension while still allowing the adhesive surfaces to seal evenly. Too much hair can reduce adhesive contact, while too little can place excessive weight on a small natural section.
4.Where Should Tape-In Rows Be Placed?
Rows should be placed where enough natural hair remains around the nape, sides, crown, parting, and hairline to conceal the tabs. The exact position depends on the client’s density, haircut, parting, and styling habits.
5.Why Do Tape-In Extensions Buckle?
Tape tabs can buckle when they are placed too close to the scalp, installed against the natural growth direction, or attached to an uneven section that does not allow normal movement.
6.Can Tape-In Extensions Be Placed on Fine Hair?
Yes, but fine hair requires careful weight distribution and enough natural coverage to hide the tabs. Smaller or lighter tape formats may be more suitable when standard tabs are difficult to conceal.
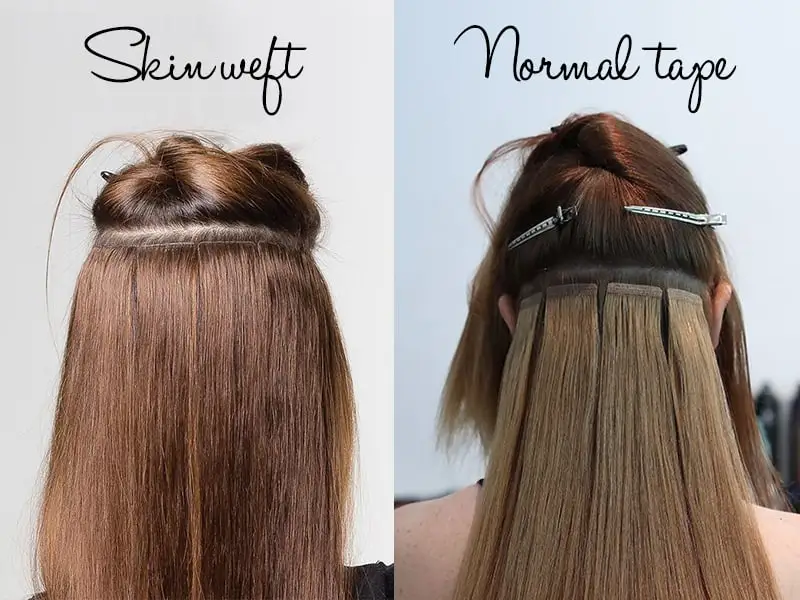
Conclusion
For most tape-in installations, start by placing the tabs about 1/4–1/2 inch from the scalp.
Keep the sections clean, match the natural hair amount to the tape size, align both tabs evenly, and leave enough perimeter coverage to hide the rows during normal styling.
If a tape feels tight, buckles, lifts at the corners, or becomes visible when the client moves the hair, correct the placement before continuing. Small placement errors are easier to fix during installation than after the client returns with slipping or discomfort.