I Tip hair extensions can create natural movement without glue or heat, but the result depends on clean sectioning, correct bead size, balanced strand weight, and controlled tension.
To install I Tip hair extensions, the stylist prepares clean dry hair, sections the head, threads a bead onto a small natural hair section, inserts the I Tip strand, and clamps the bead securely with pliers. The bead should feel firm, flat, and comfortable without pulling on the root.
For salons and hair extension buyers, I Tip installation is not only a technical step. It is a product-fit decision. The wrong bead, wrong strand weight, or poor-quality hair can turn a good method into client discomfort, slipping, or after-sales complaints.
What Are I Tip Hair Extensions?
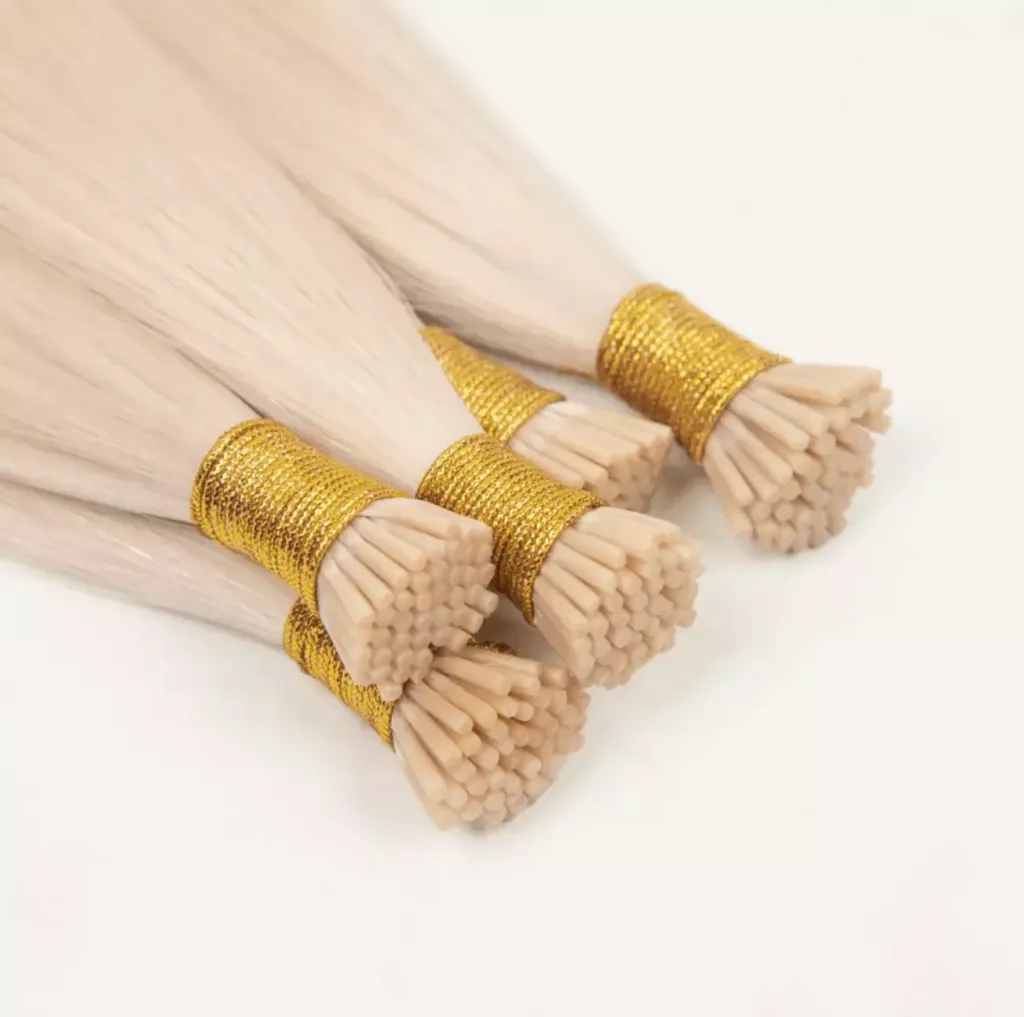
I Tip hair extensions are individual pre-tipped strands installed with small beads or rings. The stylist inserts the natural hair and the I Tip strand into the bead, then clamps the bead to hold them together.
Unlike K Tip extensions, I Tips do not require heat. Unlike tape-ins, they do not use adhesive. This makes them useful for clients who want flexible strand-by-strand placement without glue or heat.
The key point is weight control. Each I Tip strand must match the natural hair section that supports it. If the bead is too tight or the strand is too heavy, the client may feel pulling or slipping.
For buyers comparing pre-bonded methods, our keratin hair extensions page can help explain the difference between I Tip, K Tip, U Tip, V Tip, and related tip structures.
Who Are I Tip Extensions Best For?
I Tip extensions are best for clients who want no heat, no glue, flexible placement, and strand-by-strand movement.
They can work well for medium-density hair, active clients, and clients who want easier adjustment than keratin bonds. They may also work for some fine hair clients when the stylist uses lighter strands and smaller beads.
They are not always the best choice for very fragile hair, active shedding, severe scalp sensitivity, or clients who cannot return for maintenance.
| Client Type | I Tip Fit | Salon Note |
|---|---|---|
| Medium-density hair | Good | Standard strand weight may work |
| Fine but healthy hair | Possible | Use lighter strands and smaller beads |
| Active clients | Good | Bead hold and aftercare matter |
| Very fragile hair | Use caution | Avoid heavy strands or tight clamping |
| Sensitive scalp | Use caution | Test bead comfort first |
| Clients wanting no heat | Good | I Tip avoids fusion heat |
The safest client is not the one who simply wants I Tips. The safest client is the one whose natural hair can support the strand weight and bead pressure.
Preparation Before I Tip Hair Extension Installation
Preparation decides whether the install feels secure, comfortable, and clean.
Choose the right tools and materials
You need I Tip strands, beads or rings, a loop tool or pulling hook, sectioning clips, tail comb, pliers, and an extension brush. For many salon installs, silicone-lined beads can help improve grip and comfort when matched correctly.
Check strand weight and bead size
Do not use the same strand weight for every client. Fine hair may need 0.5 g or lighter placement. Medium-density hair may support 0.8 g or 1.0 g strands better.
Bead size should match the I Tip and natural hair section. A bead that is too small may feel tight. A bead that is too large may slip.
Prepare clean, dry hair
The client’s hair should be clean, dry, and free from heavy oils, conditioner residue, or styling product. Residue can make beads slip and reduce installation stability.
How to Install I Tip Hair Extensions Step by Step
1. Section the Hair
Create clean horizontal sections starting near the nape. Keep the perimeter and parting areas clear so the beads stay hidden when the client moves or styles the hair.
The section should be strong enough to support the I Tip strand without pulling.
2. Thread the bead
Use the loop tool to pull a small section of natural hair through the bead.
The natural hair section should match the I Tip strand weight. Too little natural hair can create tension. Too much hair inside the bead can make clamping uneven.
3. Insert the I Tip strand
Slide the I Tip strand into the bead beside the natural hair. The tip should sit neatly inside the bead without forcing.
Leave enough space from the scalp so the bead can move comfortably with natural hair growth.
4. Secure the bead with pliers
Clamp the bead firmly with pliers. The bead should hold securely, but it should not feel painful or overly tight.
After clamping, check that the strand moves naturally and does not pull at the root.
5. Repeat, check, and blend
Continue row by row with even spacing and a bricklay pattern when needed. Use lighter strands near fine or fragile areas.
After installation, check comfort, movement, and visibility. Then cut and blend the extensions with the client’s natural hair.
Here is a quick salon installation checklist:
| Check Point | What to Confirm | Why It Matters |
|---|---|---|
| Clean dry hair | No oil or conditioner residue | Reduces slipping |
| Bead size | Fits I Tip and natural section | Prevents slipping or tightness |
| Strand weight | Matches client density | Reduces tension |
| Section strength | Natural hair can support the strand | Prevents breakage |
| Clamp pressure | Secure but not painful | Improves comfort |
| Placement | Beads hidden and evenly spaced | Improves natural finish |
| Movement | Strand moves without pulling | Protects natural hair |
For salons, this checklist can reduce slipping, discomfort, and early maintenance complaints.
Common I Tip Installation Mistakes
Maintain Consistent Tension: Keep the hair taut while threading and clamping to avoid uneven placement.
Use Silicone-Lined Beads: These provide extra grip and reduce damage to natural hair.
Blend Extensions Seamlessly: After installation, trim and shape the extensions to blend naturally with the client’s hair.
Aftercare for Long-Lasting Extensions:Proper maintenance ensures the longevity of I-tip extensions:
Brush Regularly: Use a loop brush to prevent tangling.
Wash with Care: Use sulfate-free shampoos and avoid heavy conditioners near the roots.
Schedule Maintenance: Re-tighten extensions every 6-8 weeks to keep them secure and fresh.
By following these steps and tips, you can master I tip hair extensions installation, creating stunning, long-lasting results for your clients. Whether you’re a salon owner or a professional stylist, the process becomes seamless with practice and the right tools.
I Tip vs K Tip: Which Method Fits the Client?
I Tip and K Tip are both strand-by-strand methods, but they work differently.
I Tip uses a bead or ring to hold the extension strand. K Tip uses heat-softened keratin to form a bond around the natural hair. The better choice depends on client density, lifestyle, sensitivity, and maintenance preference.
| Feature | I Tip Extensions | K Tip Extensions |
|---|---|---|
| Attachment | Bead or ring | Keratin bond |
| Heat required | No | Yes |
| Glue required | No | No tape adhesive, but keratin bond is used |
| Adjustment | Easier to open and adjust | Removed bond by bond |
| Best for | No-heat clients and flexible placement | Discreet long wear and active clients |
| Main risk | Bead tension or slipping | Heat control and removal skill |
| Maintenance | Bead checks and move-ups | Removal and re-tipping |
For buyers comparing bonded and bead methods, our keratin hair extensions page can help explain K Tip, U Tip, V Tip, and related pre-bonded options.

Product Quality Notes for Salons and Hair Brands
I Tip quality should not be judged only by how soft the hair feels in the sample bag.
The real test starts when the strand is installed, brushed, washed, moved up, removed, and reused. If the tip is weak, it may shed from the bead. If the hair is heavily coated, it may become dry after washing. If the color is unstable, salons may face mismatch complaints.
| Product Factor | Why It Matters | What Buyers Should Test |
|---|---|---|
| Full cuticle hair | Helps softness and reuse after washing | Wash, brush, and heat-style samples |
| Tip strength | Affects shedding from the bead | Pull-test and install-test strands |
| Strand weight consistency | Affects tension control | Weigh random strands |
| Bead compatibility | Affects hold and comfort | Test bead size and silicone lining |
| Color stability | Affects salon matching | Wash and compare under daylight |
| End fullness | Affects premium result | Check density from top to ends |
| Sample-to-bulk consistency | Affects repeat orders | Compare sample and bulk shipment |
Buyers who care about long-term softness can read our guide to full cuticle hair.
FAQs About I Tip Hair Extension Installation
How are I Tip hair extensions installed?
I Tip extensions are installed by threading natural hair through a small bead, inserting the I Tip strand, and clamping the bead with pliers to secure both together.
Do I Tip extensions need heat or glue?
No. I Tip extensions are installed with beads or rings, so they do not require heat or glue.
Are I Tip extensions safe for thin hair?
They can be safe for some thin hair clients when lighter strands, smaller beads, and careful placement are used. Very fragile or actively shedding hair may need a lower-tension option.
How long do I Tip extensions last?
I Tip extensions usually need maintenance every 6–8 weeks. The hair itself may last longer if it is high quality and cared for properly.
Why do I Tip extensions slip?
They may slip because of the wrong bead size, oily hair, too much product buildup, loose clamping, or the wrong natural hair section size.
What should wholesale buyers test before ordering I Tips?
Buyers should test full cuticle hair quality, tip strength, strand weight consistency, bead compatibility, color stability, shedding, and sample-to-bulk
consistency.
Conclusion
Installing I Tip hair extensions is not difficult, but the details decide the result. Clean sectioning, correct bead size, balanced strand weight, proper clamp pressure, and clear aftercare all affect comfort, hold, and client satisfaction.
For salon owners, hair extension brands, and wholesale buyers, I Tip quality should be tested beyond the first touch. Check tip strength, bead compatibility, full cuticle hair quality, color stability, shedding, and sample-to-bulk consistency before placing a larger order.
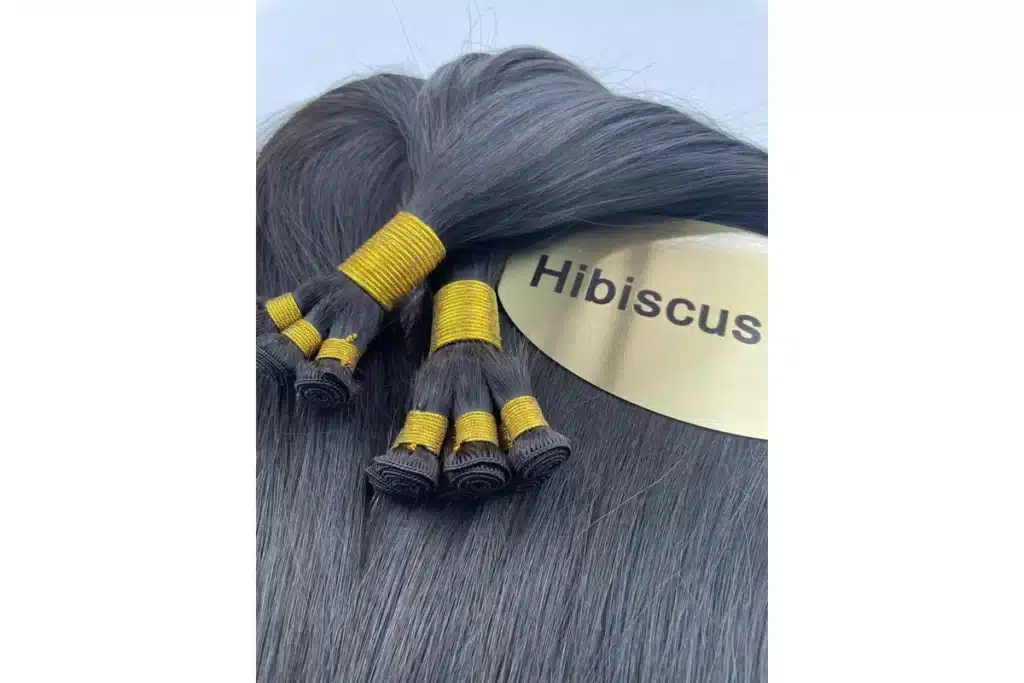
You can contact Hibiscus Hair to request I Tip samples, bead compatibility support, color matching guidance, or wholesale price information.
where can i buy i tip hair extensions
Hibiscus Hair Manufacturer has been dedicated to producing high-quality I tip hair extensions for 25 years and is a recognized leader in the industry. If you are interested in finding a reliable hair extensions supplier and wholesale for your brand, please visit our website for more information: