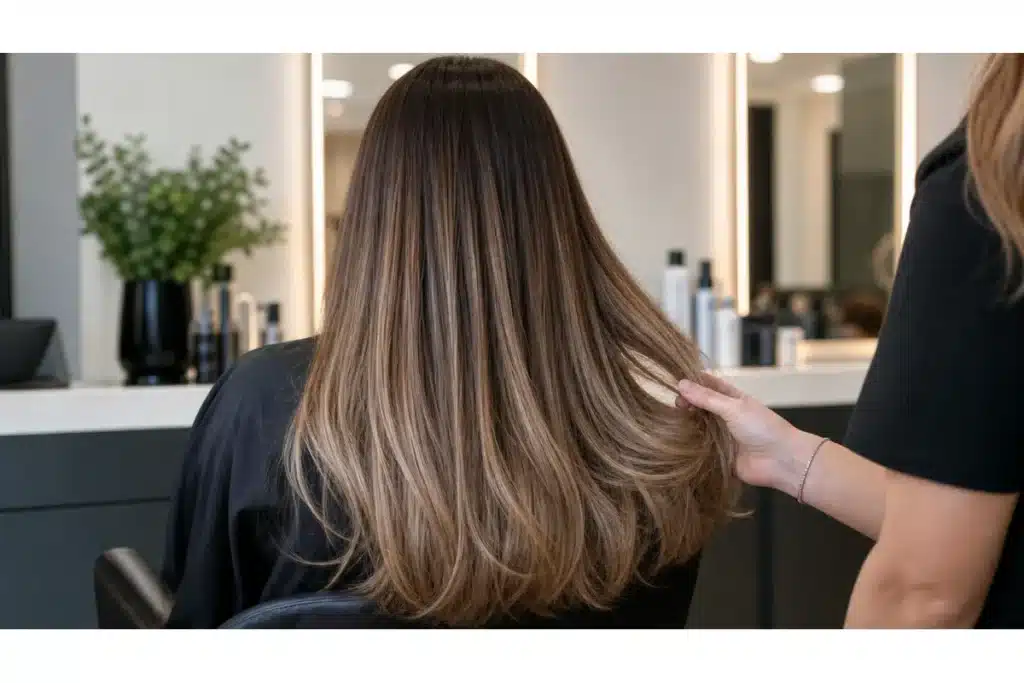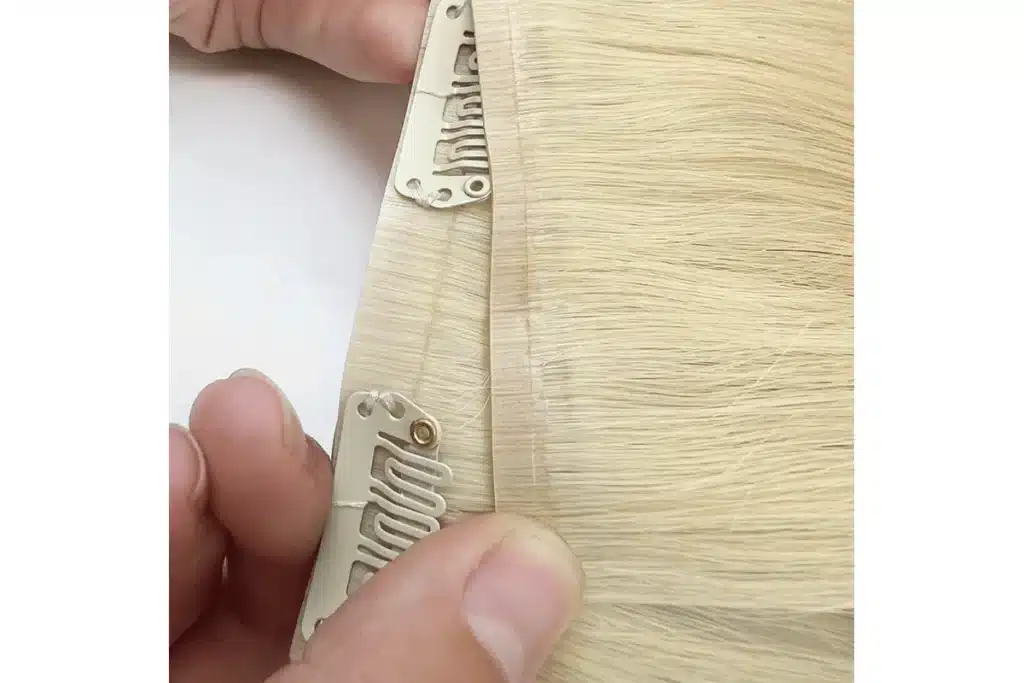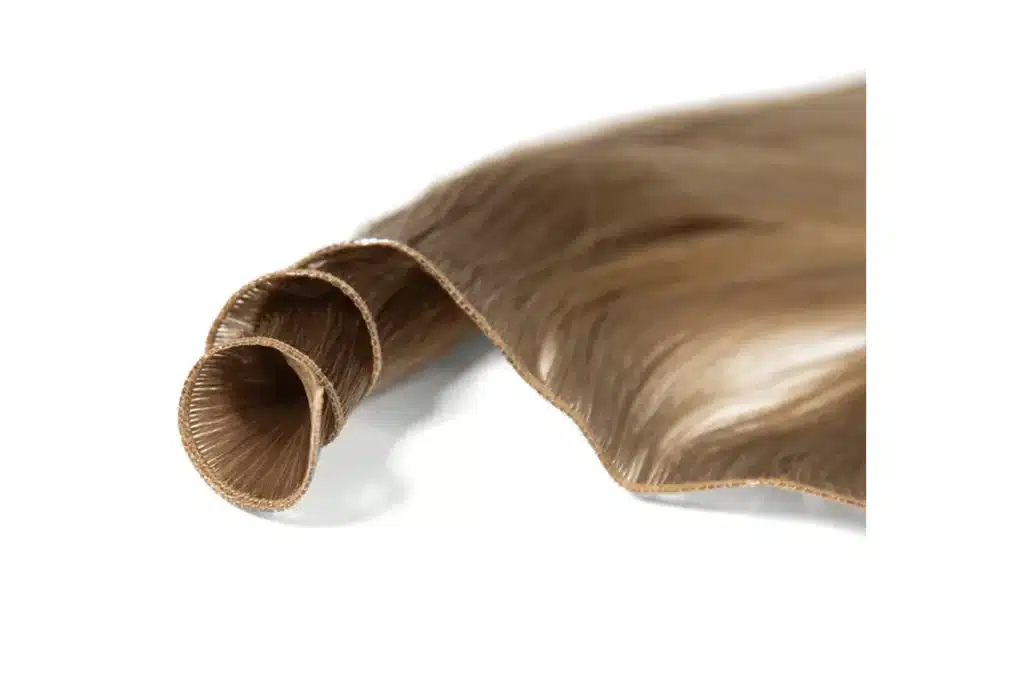
A loose sew-in can feel annoying fast. The track may lift, itch, shift, or pull, and many clients want a quick home fix before booking another salon visit.
You can tighten sew-in hair extensions at home only when the problem is small and the braid base is still stable. A safe home touch-up means securing one loose weft section back to the braid with light, even tension. If the braids are grown out, the scalp feels sore, or several tracks are loose, do not tighten it at home. Book a move-up or removal instead.
This guide explains how to check the looseness, what you can safely repair, which warning signs mean stop, and how to prevent sew-ins from loosening too quickly.
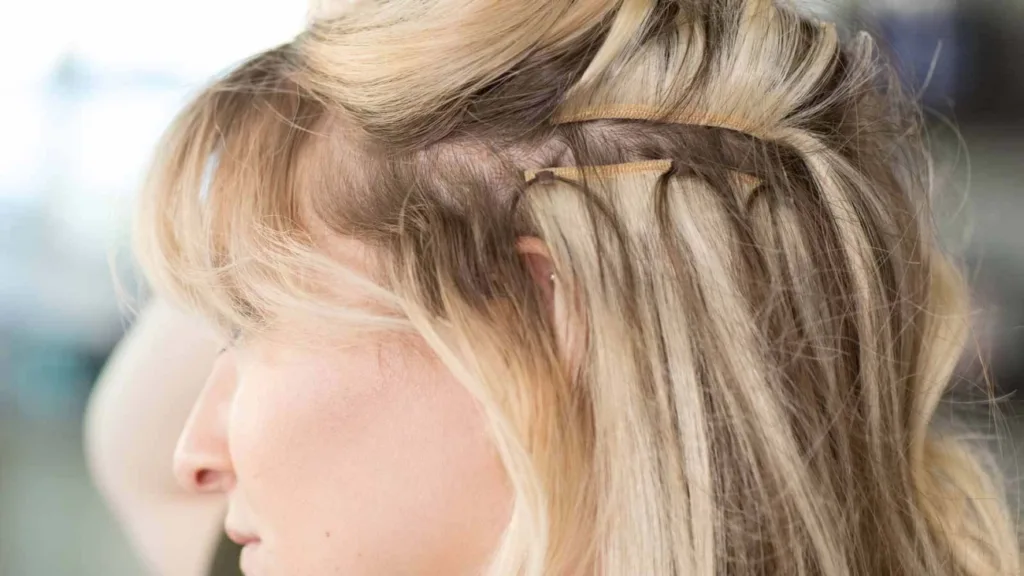
Why Do Sew-In Hair Extensions Get Loose?
A sew in gets loose because tension changes over time. Hair grows. Braids relax. Thread can slip. Daily friction can also loosen knots and stitches.
Most looseness comes from braid grow-out and stress points. The crown, sides, and nape move a lot. So those points often loosen first. Sweat, oily scalp, and heavy styling can make it happen sooner.
I talk with salon owners and wholesales every week. I also review product feedback from different markets. So I can describe the pattern clearly.
The sew in system has two parts
A sew in is not only hair. It is a system:
- The base: the braid pattern and anchor braids
- The track: the weft and the thread that holds it to the base
If the base gets loose, the track will move. If the track thread gets loose, the track edge will lift even if the base is still firm. This is why “loose sew in” can mean different things.
Why looseness starts in real life
Most people do not notice looseness right away. It starts small. Then it grows.
Common reasons I see in client messages:
- Natural hair grows and pushes the braid away from the scalp
- Braids get softer after washes and daily movement
- Knots loosen at the ends of tracks
- Stitch spacing is too wide in high-stress areas
- Friction at night rubs the thread and weft top
A simple diagnosis guide
I suggest you do a fast check before you do anything. You do not need special tools. You only need good light and clean hands.
| What You Notice | What It Usually Means | What to Do |
|---|---|---|
| One corner of one track lifts | Thread loosened in one spot | Small re-sew may help |
| Several tracks feel loose | Braid base has grown out | Book a move-up or reinstall |
| The braid moves under the weft | Base is no longer stable | Do not tighten at home |
| Scalp feels sore, bumpy, or tight | Tension or irritation | Stop and get professional help |
| Tangling near the base | Matting or buildup may be starting | Do not pull or sew over it |
If the braid under the weft moves when you touch it, the base is loose. A home tighten will not solve a loose base. It can even make tension uneven. That is when breakage risk rises.
Can You Tighten Sew-In Hair Extensions at Home?
Yes, but only in a limited situation.
A small home touch-up can be reasonable when one small section of the weft is lifting and the braid underneath still feels firm. In that case, you are not rebuilding the sew-in. You are only securing a loose edge until your next salon appointment.
Do not tighten the sew-in at home if the whole install feels loose, the braid base moves, the scalp feels sore, or you see matting near the roots. Adding more thread over an unstable base can create uneven tension and make breakage more likely.
| Situation | Home Touch-Up? | Better Next Step |
|---|---|---|
| One small weft corner is loose | Yes, with caution | Light re-sew only |
| Several tracks are loose | No | Book a move-up |
| Braid base moves when touched | No | Reinstall or professional tightening |
| Scalp feels sore or tight | No | Stop and get help |
| Matting near the roots | No | Safe removal and detangling |
| Strong odor or damp base | No | Clean, dry, and assess professionally |
How to Tighten Sew-In Hair Extensions at Home Safely
Only tighten a sew-in at home when the braid base is stable and the loose area is small. This should be treated as a temporary touch-up, not a full reinstall.
The goal is simple: find the loose point, sew the weft back to the braid with light tension, and stop immediately if the scalp hurts or the base shifts.
Step 1: Start With Clean, Fully Dry Hair
Do not sew on damp braids. Wet braids can shrink or change tension as they dry, which may make the repair feel tight later.
If you washed your hair recently, dry the braid base first with low heat and moving airflow.
Step 2: Find the Exact Loose Point
Lift the weft edge gently and find the place where the thread is loose or missing.
Do not sew around the whole area “just in case.” Most safe home repairs should stay around 1–2 inches.
Step 3: Sew Into the Braid, Not the Scalp
The needle should catch the braid hair under the weft. It should not touch or catch the skin.
If you feel a sharp pinch, stop and remove that stitch.
Step 4: Use Short, Even Stitches
Short stitches hold the weft edge more securely than wide stitches.
Keep the weft flat in its original direction. Do not pull it upward or tighten it harder than the rest of the row.
Step 5: Tie Off Securely
Tie two small knots and leave a short thread tail.
Do not cut the thread too close to the knot. Very short tails can loosen faster.
| Repair Step | Why It Matters | What to Avoid |
|---|---|---|
| Dry the base fully | Keeps tension more stable | Sewing on damp braids |
| Repair only the loose area | Reduces random tension | Sewing the whole track tighter |
| Use short stitches | Helps the edge stay flat | Wide, loose stitches |
| Keep light tension | Protects the scalp and roots | Pulling the weft too tight |
| Stop if pain appears | Pain is a warning sign | Treating pain as normal tightness |
If you feel pain during the repair, I suggest you stop. Pain is not “normal tightness.” Pain is a warning.

What Can You Safely Do at Home vs What Needs a Stylist?
A home touch-up is only for a small, local weft lift. It is not for fixing a grown-out sew-in, rebuilding loose braids, or correcting scalp pain.
If the braid base is no longer stable, tightening the track will not solve the real problem. It may only create more pressure on weak areas.
Safe home touch-up cases
These are the cases where a small re-sew is often reasonable:
- One corner lifts on one track
- The braid under it still feels firm
- No redness, no bumps, no stinging pain
- No matting at the base
In this case, the goal is simple. You stabilize the lifted edge. You do not change the whole install.
Cases that need a stylist
I suggest you avoid home tightening in these cases:
- Multiple tracks lift across the head
- Braids slide when touched
- There is matting near the base
- There is a smell or heavy trapped moisture
- You have scalp soreness or bumps
- You feel headaches after a small repair
These signs often mean the base is no longer stable. Sewing more thread on top does not rebuild the base. It only changes tension points.
Why the limit matters
When tension is uneven, traction risk increases. That is not only about comfort. It is about hair health. The safest plan is often a move-up, not a tighter sew.
| Problem | Home Touch-Up? | Best Next Step |
|---|---|---|
| One small track lift | Yes | Light re-sew until next appointment |
| Loose thread but firm braid | Yes | Small repair only |
| Whole sew-in feels loose | No | Move-up or reinstall |
| Braids are grown out | No | Professional maintenance |
| Matting near roots | No | Safe removal and detangling |
| Scalp pain, bumps, or redness | No | Stop and consult a stylist |
If you are unsure, I suggest you choose the safer option. You can always repair later. You cannot undo traction damage quickly.
What Tools and Supplies Should You Use for a Home Touch-Up?
Tools decide the quality of a repair. Wrong tools cause snapped thread, messy knots, and skin pokes.
I suggest a curved needle, proper weaving thread, clips, a rat-tail comb, and small scissors. I suggest you avoid regular clothing thread and straight needles if you cannot control the angle.
Even though I am a manufacturer, I pay attention to tools because tools change outcomes. When end users complain about looseness, the issue is often not only hair. It is also the method and tools used for maintenance.
The basic tool list
Here is what most people need:
- Curved C needle: helps follow head shape
- Weaving thread: stronger than normal thread
- Small scissors: clean cut for knot tails
- Sectioning clips: keeps hair out of the way
- Rat-tail comb: parts cleanly so you can see the track
- Mirror setup or phone camera view: helps you see the back
Why weaving thread matters
Normal cotton thread frays. It can also stretch. Then knots loosen. Weaving thread is made for tension and knot hold. This matters because a sew in sits under daily stress from brushing, sleeping, and styling.
A visibility rule I suggest
If you cannot see well, do not sew. Poor visibility is how skin gets caught. It is also how people sew into the weft hair instead of the weft top. That can cause shedding and tangling.
| Tool | Why I suggest it | Risk if missing |
|---|---|---|
| Curved needle | Better control near braids | More scalp pokes with bad angles |
| Weaving thread | Holds knots under stress | Thread snaps or slips |
| Clips | Clean section control | Sewing through extra hair by mistake |
| Mirror/camera view | Accuracy on back rows | Wrong stitch placement |
If you are building a home kit, I suggest you buy these tools once. Then you keep them clean and stored. Cheap tools often cost more later.
How Do You Check If Looseness Is Thread, Braid Base, or Hair Quality?
Many end users blame the hair. But looseness is usually not caused by hair quality alone. Still, hair quality can affect how fast problems show up, because tangling and friction change stress on the track.
I suggest you separate the cause into three buckets: thread issues, braid base issues, and hair behavior issues. Then you treat the right one.
I deal with many quality questions because I run a hair extension factory. So I want to explain this in a fair way.
Bucket 1: Thread and stitching issues
Signs often look like:
- A track edge lifts but the braid under it feels firm
- You see a missing knot or a loose loop
- The lift is local, not everywhere
This is where a small re-sew can help.
Bucket 2: Braid base issues
Signs often look like:
- The braid itself feels loose and moves
- Many tracks feel less secure
- The install feels “older” in a sudden way after washing
This needs a move-up or reinstall.
Bucket 3: Hair behavior issues
Hair quality does not “tighten” a sew in. But hair behavior changes daily stress.
If hair tangles easily, you brush harder. If you brush harder, you pull on the weft top and knots. That can speed up loosening.
This is where high-quality hair helps. Full cuticle hair stays smoother. It tangles less when cared for well. So it can reduce friction stress. In our factory, we focus on full cuticle, single donor hair because it supports long-term wear and repeat use.
| What you see | Likely bucket | What I suggest |
|---|---|---|
| One corner lift, braid stable | Thread issue | Small repair is possible |
| Whole install shifts | Base issue | Move-up or reinstall |
| Heavy tangling and pulling | Hair behavior issue | Improve care, reduce friction, check hair grade |
If you want a clean system, you need both. You need correct install and stable care. You also need hair that behaves well over time.

How Do You Prevent Your Sew In From Getting Loose Too Fast?
Prevention is easier than repair. Most looseness comes from moisture cycles and friction. You can control both.
I suggest you dry the base fully after washing, reduce friction at night, and keep heavy oils away from the braid base. I also suggest low-tension styling so the tracks do not lift.
I will keep this practical. You do not need a complex routine. You need a stable routine.
Drying is the biggest factor
Many people let the base air dry for hours. That keeps the braid damp. Damp braids swell and relax. Then they dry and shrink. That repeated cycle can loosen tension over time. I suggest you dry the base fully. Use low heat. Keep the airflow moving.
Night friction control
Friction rubs the weft top and thread. Over time it can loosen knots. I suggest satin or silk protection at night. A bonnet is helpful. A silk pillowcase is also helpful as backup.
Product placement
Conditioner and oils near the base can cause slip. They can also trap buildup. I suggest you apply conditioner mid-length to ends, not at the roots and braids.
Styling tension
High ponytails and tight buns pull tracks up. That creates lift stress. I suggest loose, low-tension styles during the wear period.
| Habit | What it protects | Simple rule |
|---|---|---|
| Dry base fully | Braid tension and knot hold | No sleeping on damp braids |
| Satin protection | Reduces friction stress | Protect every night |
| Keep oils off braids | Less slip and buildup | Products stay off the base |
| Low tension styling | Protects hairline and corners | Avoid tight ponytails |
If you follow these habits, you can often reduce how fast the sew in loosens. You can also reduce tangling. That helps you avoid hard brushing, which also protects the track.
When Should You Remove the Sew In Immediately?
Some warning signs mean you should not tighten anything. You should remove the sew in or get it removed safely.
I suggest immediate removal or urgent professional help if you have sharp pain, scalp swelling, bumps, bleeding, strong odor, or severe matting near the base. These signs can get worse if you add more tension.
This section is important because many end users try to “save” the style. I understand that. But hair health is more important than style time.
Scalp pain is not a small issue
If you feel sharp pain, stinging, or burning, it can mean:
- A stitch is catching skin
- Tension is too high
- There is irritation or inflammation starting
Adding more stitches can increase tension. That can make the issue worse. I suggest you stop and get help.
Matting is a removal issue, not a tightening issue
Matting near the base happens when shed hair collects and tangles under the track. If you tighten over matting, you trap it tighter. Then removal becomes harder. I suggest safe removal first, then detangle, then reinstall.
Odor and trapped moisture
A strong smell can mean buildup and trapped moisture. That can irritate the scalp. Tightening does not solve it. Cleaning and drying and sometimes removal solves it.
| Red flag | Why it matters | What I suggest |
|---|---|---|
| Sharp pain or bumps | Tension or irritation risk | Stop, seek professional help |
| Severe matting | Removal becomes dangerous | Remove safely first |
| Strong odor | Trapped moisture and buildup | Clean, dry, and assess |
| Bleeding or sores | Skin barrier is damaged | Do not touch, consult a pro |
If you are unsure, I suggest you choose safety. A sew in can be replaced. Hairline health is harder to replace.
My opinion
I think home tightening should stay small and limited. I also think the best “tighten” plan is on-time maintenance. When the base is grown out, tightening is not a real fix. It is only a temporary patch. I prefer safe wear and clean move-ups.

Professional Notes for Salons and Weft Buyers
For salons and hair brands, sew-in looseness is not only a maintenance issue. Product construction can also affect how well the install holds through washing, brushing, sleeping, and move-ups.
A good weft should have stable stitching, controlled shedding, smooth hair movement, and enough strength at the top track to handle sewing. If the hair tangles too easily, clients brush harder. That extra force can pull on the thread and loosen the track faster.
| Product Check | Why It Matters |
|---|---|
| Weft stitching strength | Helps the track hold during sewing and wear |
| Shedding control | Reduces complaints after brushing |
| Hair cuticle condition | Helps reduce tangling and pulling stress |
| Track thickness | Affects comfort and visibility |
| Color stability | Protects repeat salon orders |
| Sample-to-bulk consistency | Reduces after-sales risk |
Before ordering wholesale wefts, salons should test samples after washing, drying, brushing, sewing, and removing. A soft sample is not enough if the weft top cannot handle real salon use.
You can compare our wholesale weft hair extensions or contact Hibiscus Hair to request samples for salon testing.
FAQs About Tightening Sew-In Hair Extensions
Can you tighten sew-in hair extensions at home?
Yes, but only if one small weft section is loose and the braid base is still firm. If the whole install feels loose or the scalp hurts, book a stylist.
Can you tighten a sew-in without sewing?
It is not recommended. Clips, bands, glue, or quick hacks can snag hair, trap buildup, or create uneven tension. A small re-sew is safer when the case is suitable.
How long can a small home touch-up hold?
A small repair may hold until your next salon visit if the braid base is stable. If the base is loose, the repair may fail quickly.
Is it normal for a sew-in to loosen after washing?
Yes, some loosening can happen after washing because braids soften and thread tension changes. Drying the base fully helps reduce this problem.
What if the looseness is near the hairline?
Be careful. The hairline is more fragile and more visible. If you are not confident, do not tighten it at home.
Should you tighten a sew-in if your scalp itches?
Not right away. Itching may come from buildup, dryness, tension, or irritation. Clean and dry the area first. If itching continues, get professional help.
How often should sew-in extensions be moved up?
Many sew-ins need maintenance every 6–8 weeks, depending on hair growth, braid condition, scalp comfort, and lifestyle.
My View
A home tighten should stay small. It should never become a full reinstall or a way to avoid overdue maintenance.
If the braid base is grown out, tightening the weft is not a real fix. It only adds more tension to a weak structure. That is when breakage and scalp discomfort become more likely.
From a salon and supplier point of view, the best result comes from three things working together: a clean installation, good weft construction, and on-time maintenance. When one of those fails, clients often feel it first as looseness, tangling, or pulling.
Conclusion
You can tighten sew-in hair extensions at home only when the loose area is small and the braid base is still stable. A safe touch-up means a light re-sew, not a full tightening of the whole install.
If the braids are grown out, several tracks are loose, the scalp hurts, or matting has started, stop and book a stylist. Tightening over an unstable base can create more tension and damage.
For salons and weft buyers, loose sew-ins are also a reminder that installation, maintenance, weft construction, and hair quality all work together. You can explore our hair weft extensions, learn about full cuticle hair, or request samples for salon testing.