Thinking about trimming extensions at home? That tiny “I can handle this” voice shows up fast, and then the fear shows up faster. One snip feels permanent.
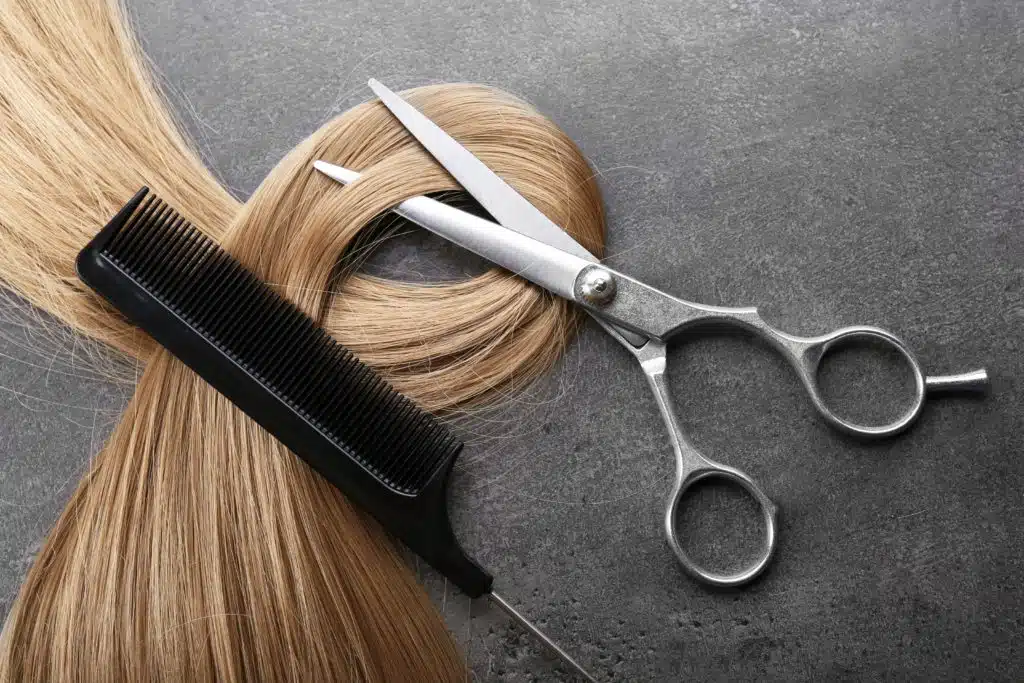
A safe home trim is possible when the goal stays small: soften the ends, remove dryness, and improve blending. Use sharp hair shears, work on dry hair, cut in tiny steps, and stay far from any tape, seam, wire, or clips.
Nobody wakes up asking for “obvious extension ends.” Sometimes the color is perfect and the length is right, but the bottom still looks heavy. Let’s fix that without turning your bathroom into a crisis scene.
Can you cut hair extensions yourself?
Staring at the ends and thinking, “These look too blunt,” is normal. That blunt line is the main reason extensions can look separate from natural hair, even when everything else looks good.
Yes, you can cut hair extensions yourself when the goal is a light trim and soft blending. Keep the cut low, stay patient, and avoid the attachment area.**
Dive deeper
Home trimming works best when the mission is small. So let’s define “small” in a way that protects your length and your sanity.
A safe DIY trim usually means one of these:
- Dusting 0.5–1 cm off dry ends
- Breaking up a sharp, straight bottom line
- Softening the front corners on removable sets
A risky DIY cut usually means one of these:
- Cutting more than 5 cm in one session
- Trying to create full layers across the whole head
- Cutting near tape tabs, weft seams, halo wire channels, or clips
The easiest way to stay safe is to treat the trim like a controlled project, not a makeover. A good rule is: cut less than you want, then style, then decide if you still need more.
Also, section size matters more than people think. Thick sections hide mistakes. Thin sections show the true line. That is why a trim can look fine while cutting, then look uneven after brushing.
Try this simple self-check before you start:
| Checkpoint | Green light | Red light |
|---|---|---|
| Goal | Soft ends or small clean-up | New haircut or heavy layers |
| Tools | Sharp hair shears | Household scissors |
| Attachment safety | Attachment area clipped away | Attachment area exposed |
| Patience | Comfortable doing tiny cuts | Feeling rushed or stressed |
If you want a simple phrase to remember, use this: “Tiny cuts, many checks.” That mindset is the real secret behind how to cut extensions at home without regret.

Can you cut hair extensions with scissors?
Those regular scissors in the drawer look tempting. They also cause most of the frayed, crunchy ends people blame on “bad extensions.”
Household scissors can cut extensions, but they often crush hair fibers and create rough ends. Hair cutting shears give a cleaner edge and a softer finish.**
Dive deeper
Here is what happens with dull or wrong scissors: the blades press and tear instead of slicing cleanly. That rough edge can lead to more tangling, more dryness, and an end line that looks thick and stiff.
Now, let’s talk technique, because even perfect shears can still create a bad result.
A straight chop across the bottom is the fastest way to make extensions look fake. Real hair almost never ends in a perfectly solid line. Extensions are already neat. A straight cut makes them look even more “manufactured.”
Point cutting fixes that. The scissors go in vertically and make small snips into the ends. This creates a softer edge that blends better with natural hair.
Also, watch tension. When the hair is pulled tight between fingers, the line changes when the hair falls naturally again. A gentle hold keeps the cut closer to how it will look in real life.
Use this problem-to-solution guide:
| What you see | What caused it | The safer fix |
|---|---|---|
| Blunt straight line | Straight chop | Light point cutting at the perimeter |
| Uneven step | Thick sections or shifting | Correct only the uneven spot |
| Fuzzy ends | Dull scissors | Switch to hair cutting shears |
| Ends too thin | Overcut or thinning too much | Stop, style, reassess |
If you only remember one thing from this section, remember this: the tool matters, but the cutting style matters more.
How to cut extensions at home?
The best home trim is boring. Boring means controlled. Controlled means you keep your length.
The safest method is dry trimming with small sections, then soft point cutting at the ends. Keep the attachment area protected and cut in tiny steps.**
Dive deeper
Here is a simple step-by-step that works for most people and avoids drama.
1) Detangle fully
Start with clean, dry hair. Brush from ends to mid-length, then up. If the hair is tangled, cutting becomes uneven.
2) Style the hair the way you actually wear it
If you wear it straight, straighten lightly first. If you wear it wavy, add loose waves first. Cutting in the “real wear” state gives a more honest outline.
3) Create a no-cut zone
Clip up the attachment area. For installed systems, clip everything above the mid-length. For clip-ins or halo, keep the top band and track far away.
4) Work in thin sections
Think “see-through sections.” Each section should be small enough to see the shape.
5) Start with a test cut in the front
Trim a tiny amount on one side. Brush. Check. If it looks right, continue.
6) Use point cutting, not a straight chop
Small vertical snips into the last 1–2 cm make the ends look softer.
7) Check often
Brush between cuts. Step back. Check the back with a phone camera.
This is also the moment to be strict about where not to cut:
| Extension type | No-cut parts | Safe trim zone |
|---|---|---|
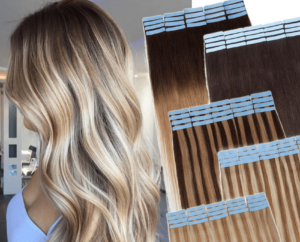
| Tape-ins (installed) | Tape strip and adhesive edge | Below the tape, mid-length to ends |
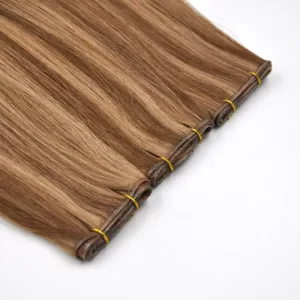
| Sew-in wefts | Weft seam and fold | Hair length only |
| Clip-ins | Track stitching and clips | Hair length only |
| Halo | Wire channel and top band | Hair length only |
If you are looking for a clear phrase to guide the session, use this: “Blend first, shorten second.” Most people cut too much because they want blending, but they chase it with length removal. Blending usually needs softening, not shortening.
Is it better to cut hair extensions wet or dry?
Wet hair can look easy to cut, but it can also lie. Dry hair shows the truth, even if the truth feels a little rude.
Dry cutting is better for most home trims because it shows the real outline and blending. Wet cutting can shrink back after drying and surprise you.**
Dive deeper
Wet cutting has two common problems.
First, shrink-back. Wet hair looks longer because it stretches and clumps. After it dries, the ends lift. That can turn a small trim into a bigger change than you wanted.
Second, hidden unevenness. Wet hair sticks together in pieces. One clump can get cut slightly shorter, and you may not notice until you dry and brush.
A safe compromise exists if dry cutting feels hard: do a micro dusting when damp, then finish on dry hair. “Micro dusting” means removing only a few millimeters from the very tips, then stopping. Once it is fully dry, point cut lightly to soften.
Use this decision guide:
| Goal | Best state | Why |
|---|---|---|
| Soften ends | Dry | The outline is visible |
| Remove a few mm of damage | Dry or damp | The change is tiny |
| Fix uneven steps | Dry | Wet hair hides steps |
| Improve blending | Dry | You can see the blend line |
This is why “how to cut extensions at home” usually goes better on dry hair. The mirror tells the truth when the hair is in its real state.

How do you avoid a choppy, obvious cut?
That “I can see the extensions” look usually comes from one thing: a blunt outline. The fix is not complicated, but it does require restraint.
Small sections plus point cutting keep the ends soft and natural. Avoid straight chops and avoid thinning high into the mid-length.**
Dive deeper
Three mistakes cause most choppy DIY results.
Mistake 1: Cutting across in one line
This creates a shelf. A shelf looks like a “panel” of hair sitting under another panel. Point cutting breaks up the shelf and makes the edge look more random and natural.
Mistake 2: Thinning too high
Many people grab thinning shears and start thinning around mid-length. That often creates short pieces that stick out, tangle, and look frizzy. Extensions can handle softening at the very ends. Mid-length thinning is a different game.
Mistake 3: Cutting with too much tension
Pulling hair tight changes the fall. When the hair relaxes, the line changes. Keep the hold gentle.
Here is a simple “spot and fix” table:
| What you notice after styling | Likely cause | Best home fix |
|---|---|---|
| Bottom looks too sharp | Straight chop | Point cut the last 1–2 cm |
| Ends look bulky | No softening | Light perimeter point cutting |
| One side looks longer | Uneven trimming | Correct only the longer side |
| Hair looks fuzzy at ends | Dull scissors | Use sharp shears and dust lightly |
If you want a small trick that feels like cheating: add a loose wave before judging. Waves hide tiny irregularities and show whether the outline reads as natural.
What if you cut too much?
That “uh-oh” moment happens. It does not mean everything is ruined. It does mean the scissors should take a break.
When too much gets cut, stop cutting, brush and style, then reassess in normal light. Do not keep cutting to “fix it” because that usually removes even more length.
Dive deeper
A recovery plan keeps a small mistake from becoming a bigger one.
Step 1: Put the scissors down
Seriously. Even a 3-minute pause helps.
Step 2: Brush everything out
Hair looks different when it is freshly cut and unbrushed. Brushing reveals the real outline.
Step 3: Check in daylight or a bright neutral light
Bathroom lighting can make things look worse than they are.
Step 4: Identify the real problem
Usually it is one of these:
- Length feels shorter than expected
- One side is uneven
- The outline looks blunt
If length is the issue, more cutting cannot help. Styling can help. Soft waves can disguise a small length difference. For clip-ins or halo, switching to a longer set is the clean fix.
If unevenness is the issue, only correct the longer side. Do not “match everything” to the shortest side. That is how length disappears fast.
If the outline is blunt, point cut lightly. Most blunt problems can be softened without taking more length.
Use this recovery table:
| Problem | Best first move | What to avoid |
|---|---|---|
| Ends feel too short | Style first, check again later | Cutting more to “even it” |
| One side looks longer | Fix only that side in tiny steps | Matching everything to the shortest piece |
| Bottom looks too blunt | Point cut the perimeter | One more straight chop |
| Blend looks separated | Add soft waves, then reassess | Aggressive thinning |
A simple truth helps here: a haircut is not judged by a measuring tape. It is judged by how it looks in motion and in daily wear.
When should you stop and see a pro?
DIY trims are great for small clean-ups. Full shaping is different. A professional cut wins when the goal affects the whole head, not just the ends.
Stop and see a stylist when you need heavy layering, major length changes, or correction after a bad DIY cut. Pro blending is faster and safer for complex shaping.
Dive deeper
Here is why pros win on complex extension cuts: shape needs full-head balance. That means working with the back, crown, sides, face framing, density shifts, and the client’s natural haircut.
At home, the front is easy. The back is guesswork. Guesswork leads to unevenness and panic cuts.
A stylist also sees blend architecture:
- Where your natural hair ends
- Where the extension density begins
- How the weight line should fall
- How to create movement without exposing attachments
If your goal is one of these, a pro cut is usually worth it:
- More than 5–7 cm length change
- Layers across crown and sides
- Fixing visible “steps”
- Fixing a cut that went wrong at home
Use this simple decision guide:
| Goal | DIY friendly | Pro recommended |
|---|---|---|
| Dust ends | Yes | Not needed |
| Soften a blunt line | Yes | Optional |
| Fix one small uneven spot | Yes | Optional |
| Create full layers | Risky | Yes |
| Big length change | Risky | Yes |
| Repair a choppy cut | Hard | Yes |
This is not about skill shame. It is about picking the method that matches the risk.
My opinion
A home trim should feel calm. The best result comes from small steps, good light, and a soft perimeter. If your plan starts sounding like a full haircut, it is usually time to stop and get a professional blend cut.
FAQ
Can you really cut hair extensions at home and still make them look natural?
Yes, if you keep the goal small and use point cutting on dry hair. The aim is softer ends, not a new haircut.
What is the safest amount to cut off?
Start with 0.5–1 cm. Style and check. More can be removed later.
Is it okay to cut installed tape-ins or sew-ins?
The hair length can be trimmed, but the attachment area must stay untouched. Tape strips and weft seams should never be cut.
Why do extensions look thicker at the bottom after trimming?
A straight chop creates a blunt line. Point cutting breaks the line and makes it look more natural.
Can thinning shears be used at home?
Light softening at the very ends can be okay, but thinning high into mid-length often causes frizz and tangles.
Should the hair be straightened before trimming?
It helps. Trim the hair in the state you wear most often so the outline is accurate.
How often should extensions be trimmed?
A light dusting every 6–10 weeks is common, depending on heat styling and daily care.
What if you cut too short?
Stop cutting, style, and reassess in daylight. A wave can hide small issues. For removable sets, a longer set is the clean fix.
Conclusion
A clean home trim is doable. Keep the hair dry, cut in tiny steps, soften the ends with point cutting, and protect the attachment area. Natural-looking ends are the whole goal.