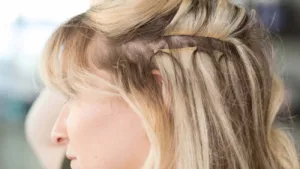
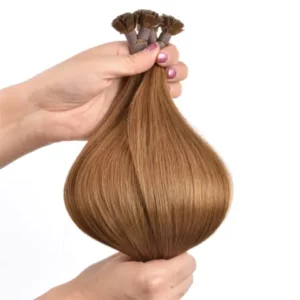
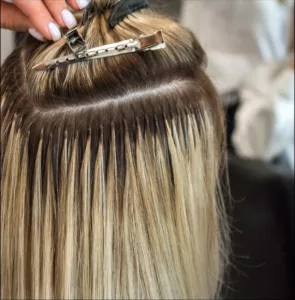
Removing tape-in hair extensions doesn’t have to be a daunting task. Whether you’re a hairstylist or just looking to remove your extensions at home, this step-by-step guide will make the process smooth and safe for your natural hair. Let’s dive in!
To remove tape-in hair extensions, you’ll need a special adhesive remover, some patience, and gentle hands. The key is to loosen the adhesive before pulling the extensions out to avoid damaging your natural hair. Here’s how to do it effectively.
If you’re looking for a more detailed walkthrough, I’ve got you covered with a full guide below. Let’s explore the best techniques and aftercare tips for when you remove your tape-ins.

Step-by-Step Guide: How to Remove Tape-In Hair Extensions
Removing tape-in hair extensions can seem tricky at first, but with the right approach and tools, you can remove them safely without causing harm to your natural hair. Here’s everything you need to know:
Step 1: Gather the Right Tools
Before you start, make sure you have the following tools:
Tape-in adhesive remover: This is essential for breaking down the adhesive that holds the extensions in place.
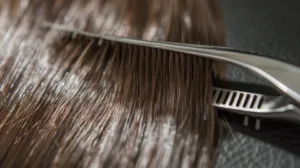
Comb: A fine-tooth comb is best for gently separating the extensions from your natural hair.
Cotton pads or towels: For catching any drips or adhesive residue.
A plastic bowl: To hold the remover or any excess residue.
Hair clips: To section off your hair as you work.
A wide-tooth comb: For detangling your hair afterward.
Step 2: Apply the Adhesive Remover
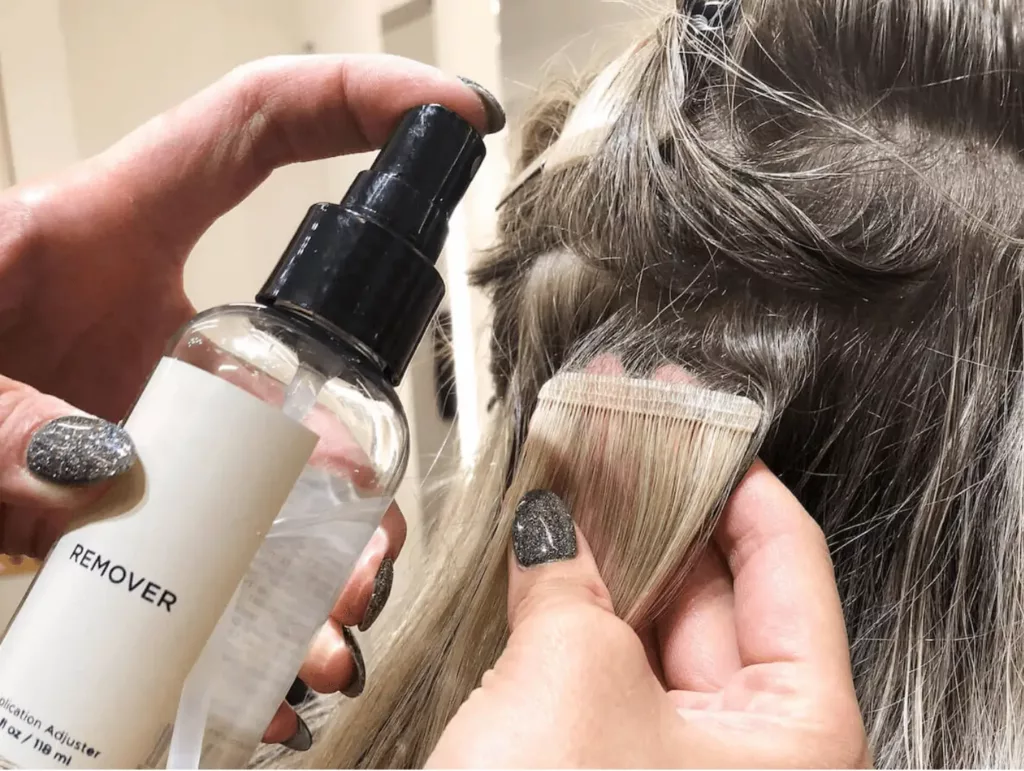
The first step is to apply an adhesive remover to the taped areas. You can either spray the remover directly onto the tape or use a cotton pad to gently dab the solution onto the adhesive. Start at the root area where the tape is attached, making sure to apply the remover generously to loosen the bond.
Step 3: Let the Remover Work
Once the remover is applied, let it sit for about 5-10 minutes. During this time, the remover will break down the adhesive, making it easier to separate the extensions from your natural hair. Don’t rush this step—it’s important to give the product enough time to work.
Step 4: Gently Peel the Extensions Off
After the remover has had time to work, use a comb or your fingers to gently separate the extensions from your natural hair. Start from the ends of the tape and carefully peel it away from your hair. If you feel resistance, apply a little more remover and wait a bit longer. The goal is to avoid pulling or tugging on your natural hair.
Step 5: Remove the Tape Residue
Once the extensions are removed, you’ll likely have some sticky residue left in your hair. Use the adhesive remover again to wipe away any remaining glue. Be gentle—harsh pulling or scrubbing could cause damage to your natural strands.
Step 6: Detangle and Wash Your Hair
After removing the extensions and all adhesive residue, detangle your hair with a wide-tooth comb. Then, give your hair a gentle wash with a clarifying shampoo to ensure all traces of the remover are gone. Follow up with a nourishing conditioner to restore moisture.
Why Use an Adhesive Remover?
The key to removing tape-in hair extensions safely is using an adhesive remover. This product is specially formulated to break down the sticky bond between the tape and your natural hair. Using the right remover ensures that you’re not damaging your hair or scalp during the process. Avoid using oils or other DIY methods, as they can be too harsh or ineffective.
aftercare Tips for Your Natural Hair
Once your tape-in extensions are removed, it’s crucial to care for your natural hair. Here are a few aftercare tips to keep your hair healthy:
Deep condition: Your hair may feel dry after removal, so use a nourishing hair mask to replenish moisture.
Avoid heat styling: Give your hair a break from heat tools for a few days to prevent further damage.
Give your hair time to breathe: If you plan to reapply extensions, allow your natural hair a week or so to recover and regain strength.
Common Mistakes to Avoid When Removing Tape-In Extensions
While removing tape-in hair extensions is fairly straightforward, it’s easy to make mistakes. Here are a few to avoid:
Pulling too hard: Never pull on the extensions aggressively. This can cause breakage or damage to your natural hair.
Not using enough remover: If you don’t apply enough adhesive remover, it will be difficult to break the bond, which could lead to hair damage.
Skipping the detangling step: Before you wash your hair, always detangle carefully to prevent breakage.

Conclusion
Removing tape-in hair extensions doesn’t have to be a stressful experience. By following the steps above—using the right remover, taking your time, and detangling afterward—you can keep your natural hair healthy and strong. Just remember, patience is key, and aftercare is essential to maintain the health of your hair for your next set of extensions. Happy removal!
Hibiscus Hair Manufacturer has been dedicated to producing high-quality tape in hair extensions for 25 years and is a recognized leader in the industry. If you are interested in finding a reliable hair extensions supplier and wholesale for your brand, please visit our website for more information:
TAPE IN HAIR

