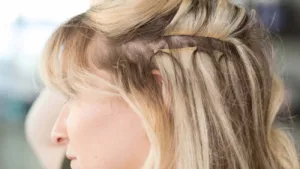
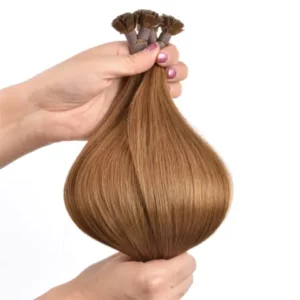
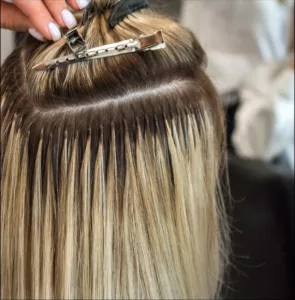
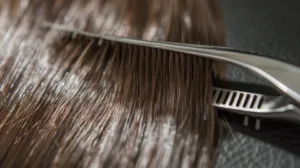
Removing U Tip hair extensions might seem daunting at first, but with the right tools and techniques, it’s a straightforward process. As a professional hairstylist or salon owner, mastering this skill ensures your clients leave with healthy hair and a positive experience. Let’s walk through the best practices to get it done efficiently and safely.
To remove U Tip hair extensions, apply a specialized keratin bond remover to the bonds, use pliers to break the keratin, and gently slide the extension off the natural hair. The process requires careful handling to avoid damaging the client’s hair.
Want to ensure a clean, damage-free removal every time? This guide will provide step-by-step instructions and professional tips to make the process quick, safe, and effective.

Tools You Need to Remove U Tip Extensions
Before starting, make sure your workstation is equipped with:
Bond Remover: A professional-grade solution designed to dissolve keratin bonds.
Extension Pliers: Specialized pliers for breaking and softening the bonds.
Sectioning Clips: To keep hair organized during removal.
Tail Comb: For precise sectioning and to remove residue.
Gentle Clarifying Shampoo: To clean the client’s hair after removal.

Step-by-Step Guide to Removing U Tip Hair Extensions
1. Prepare the Client’s Hair
Start by sectioning the hair into manageable layers using sectioning clips. Work row by row, beginning at the nape of the neck and moving upward.
2. Apply the Bond Remover
Apply a small amount of keratin bond remover directly to the bond.
Let it sit for 30 seconds to a minute to soften the keratin.
3. Break the Bond
Use extension pliers to gently squeeze and crack the softened bond.
Avoid applying excessive pressure to prevent pulling or breaking the client’s natural hair.
4. Slide the Extension Off
Once the bond is broken, the extension should slide off easily. If there is resistance, apply more bond remover and repeat the process with the pliers.
5. Remove Residue
Use a tail comb to remove any leftover keratin or residue from the natural hair. If needed, apply a bit more bond remover to dissolve stubborn pieces.
6. Wash and Condition
After all extensions are removed, wash the client’s hair with a gentle clarifying shampoo to remove any remaining residue. Follow up with a hydrating conditioner to nourish and restore the hair.
Tips for Safe and Efficient Removal
1. Be Gentle
Never force an extension off if it doesn’t slide easily. Patience is key to avoiding damage.
2. Work in Small Sections
Focusing on small sections ensures precision and minimizes the risk of tangling or pulling.
3. Use Professional Tools
Invest in high-quality tools and bond removers designed specifically for U Tip extensions. These make the process faster and safer.

Post-Removal Care for Clients
After removing the extensions, advise your clients on how to care for their natural hair:
Deep Conditioning Treatment: Suggest a salon-grade treatment to repair and moisturize the hair.
Trim Split Ends: Offer a quick trim to tidy up any damage caused by wear.
Rest Period: Recommend a break of at least 2–4 weeks before reapplying extensions to allow the natural hair to recover.

Conclusion
Removing U Tip hair extensions doesn’t have to be intimidating. With the right tools, techniques, and a professional approach, you can ensure every removal is clean, efficient, and damage-free. By mastering this skill, you’ll not only maintain the trust of your clients but also elevate your salon’s reputation for quality care. Ready to make the process seamless? Let’s get started!
Hibiscus Hair Manufacturer has been focusing produce high quality U Tip hair extensions for 25 years and are an industry leader in this field. If you are interested and want to find a reliable hair extensions supplier, please check for our more details.
U Tip Hair Extensions


