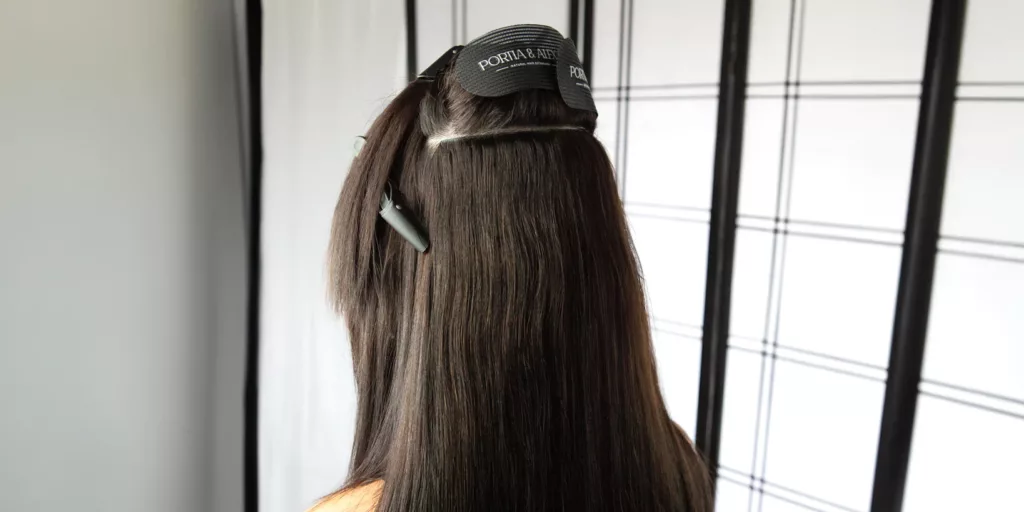
Ready to take out your tape weft extensions? It’s important to do it correctly to avoid any damage to your natural hair. In this post, I’ll walk you through the removal process and give you tips on how to make it as easy and stress-free as possible.
To remove tape weft hair extensions, you’ll need a specific adhesive remover and some patience. Start by applying the remover to the tape area and allow it to break down the adhesive. Gently peel the wefts away without rushing the process to avoid hair breakage.
This isn’t just about applying the remover. There’s a method to ensure you don’t damage your natural hair in the process. In this guide, I’ll show you everything from prep work to aftercare. Keep reading to make sure you get it right.

Step-by-Step Guide to Removing Tape Weft Hair Extensions
Removing your tape wefts is straightforward when you do it step by step. Here’s how to do it without causing any damage to your hair.
Step 1: Get Your Tools Ready
Before you begin, make sure you have everything you need:
Hair extension adhesive remover (make sure it’s designed for this purpose).
Cotton pads or a towel to wipe away excess product.
Hair clips to section your hair.
A wide-tooth comb to gently detangle any knots before and after the removal.
Step 2: Apply the Adhesive Remover
Now, apply the adhesive remover directly to the tapes. Don’t skimp here—ensure the tape wefts are fully saturated. This will loosen the bond and make the removal process easier. You may want to use a cotton pad for more precision.
Step 3: Let It Sit
Give the remover time to do its job. Let it sit for about 5–10 minutes so that it can break down the adhesive. If you’re in a rush, resist the urge to rush this step—let the remover work its magic so you don’t end up tugging at your natural hair.
Step 4: Gently Peel the Tape
Once the adhesive has softened, gently peel the weft from your natural hair. Start from the bottom of the tape and work your way up. Don’t pull too hard! If you feel resistance, reapply the remover and wait a little longer before trying again.
Step 5: Remove Residue
Once the extensions are out, you’ll likely find some leftover adhesive. Use a bit more remover and a cotton pad to clean it up. This is essential to prevent residue buildup that can damage your hair or affect new extensions in the future.
Step 6: Wash and Condition
After the extensions are removed and the adhesive is cleaned off, wash your hair to remove any remaining product. Follow up with a nourishing conditioner to replenish any moisture your hair might have lost.
Why You Should Always Use an Adhesive Remover
Not all removers are created equal. Using an adhesive remover designed specifically for tape-in extensions is crucial to avoid hair damage. It works more effectively, softening the adhesive without risking harm to your hair follicles.
How to Care for Your Hair After Removal
Your hair may need a little TLC after removing tape wefts. Here’s how to restore it:
Deep condition to hydrate and strengthen your hair.
Avoid heat styling for a few days to let your hair recover.
Give your hair a break before applying new extensions to allow it to breathe.
What to Avoid When Removing Tape Wefts
Here are a few things to keep in mind when removing your tape extensions:
Don’t skip the waiting time. Give the remover enough time to break down the adhesive fully.
Don’t yank or pull on the wefts. This can cause damage to your natural hair.
Clean up thoroughly. Make sure all the adhesive is removed to avoid any buildup.

Conclusion
Removing tape weft hair extensions doesn’t need to be difficult—just follow the steps carefully, and your natural hair will stay intact. With the right tools and some patience, you can easily do it at home. And don’t forget, post-removal care is just as important for keeping your hair healthy!
Hibiscus Hair Manufacturer has been dedicated to producing high-quality Tape in hair extensions for 25 years and is a recognized leader in the industry. If you are interested in finding a reliable hair extensions supplier and wholesale for your brand, please visit our website for more information:


