So you’ve got your hands on some gorgeous tape-in hair extensions and want to install them yourself—awesome! It might sound like a tricky task, but don’t worry; I’ve got all the steps covered. By the end of this guide, you’ll be a pro at applying tape-in extensions in no time.
Yes, you can put tape-in hair extensions on yourself with a little patience and the right tools. Start by preparing your hair, sectioning it, and applying the tape strips carefully. With proper technique and practice, you can achieve a flawless look without the need for a salon appointment.
Ready to learn how to do it yourself? Let’s dive into the step-by-step process, so you can put your extensions in like a pro. I’ll walk you through everything you need to know, from prep to perfect placement!

Step-by-Step Guide to Applying Tape-In Hair Extensions
Applying tape-in extensions by yourself might seem intimidating at first, but once you break it down into steps, it’s totally manageable. Here’s a simple, detailed guide to help you get that flawless look.
1. Gather Your Supplies:
Before you start, make sure you have everything you need:
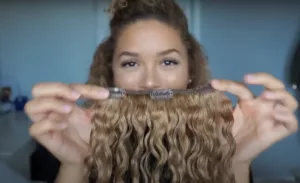
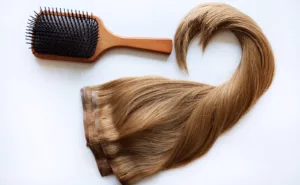
Tape-in extensions
A tail comb (for sectioning)
Sectioning clips
A mirror (preferably a handheld one)
A blow dryer or extension adhesive remover (in case of mistakes)
A fine-toothed comb
2. Prep Your Hair:
Start with clean, dry hair—no oils, serums, or conditioners. Oils can make the tape adhesive less effective. Brush your hair thoroughly to remove tangles and ensure a smooth surface for the extensions.
3. Section Your Hair:
Use the tail comb to divide your hair into thin horizontal sections, starting from the bottom. Secure each section with a clip. The thinner the section, the more natural the result. You’ll want to apply the extensions close to the roots, but not directly on them, so leave a small gap for comfort.
4. Apply the Tape-In Extensions:
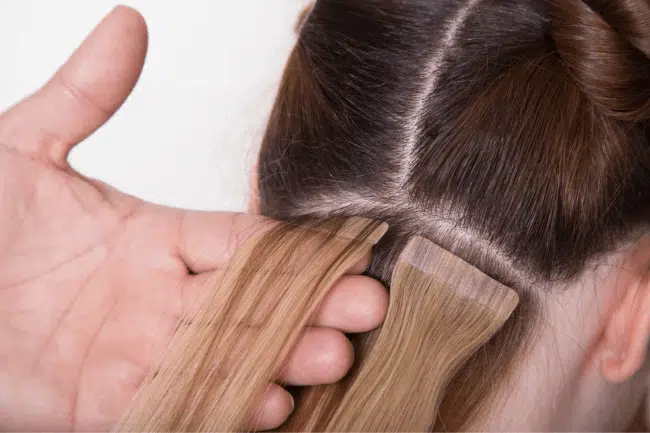
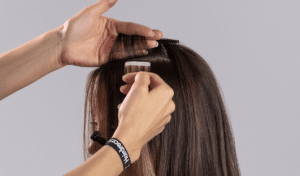
Start with a small section of hair (around 1-2 cm wide) and apply the first tape weft to the underside of the section.
Take the second weft and place it directly on top of the first, sandwiching your natural hair between the two wefts.
Press firmly to ensure the tape adheres well. Repeat this process row by row, working your way up to the crown of your head.
Make sure to stagger the tape pieces slightly for a more natural look.
5. Blend the Extensions:
Once all your tape-in extensions are in place, use a fine-toothed comb to gently blend your natural hair with the extensions. You can also trim the ends for a more seamless blend if needed. A quick pass with the blow dryer on a low heat setting helps to set the tapes and add extra hold.
6. Check for Comfort and Secure the Wefts:
Once you’ve applied the extensions, check that they feel secure and comfortable. If any weft feels too tight or loose, make adjustments.
Tips for the Perfect Tape-In Extension Application
Here are some extra tips to ensure your extensions last and look flawless:
1. Start with Small Sections:
Don’t try to tackle too much at once. Applying one section at a time ensures you can get the tape as close to the roots as possible and helps avoid errors.
2. Use a Mirror to Check Your Work:
It’s hard to get the placement right without a second set of eyes. Use a handheld mirror to check the back of your head and ensure everything looks good as you go.
3. Be Gentle When Removing Extensions:
If you’re ever ready to take them out, use a special extension remover or a blow dryer on low heat to loosen the adhesive. This will help avoid damage to your natural hair.
4. Avoid Excessive Heat Near the Roots:
After applying the extensions, try not to apply too much heat near the roots where the tape is placed. Heat can weaken the adhesive and cause the extensions to slip out.

Common Mistakes to Avoid When Applying Tape-In Extensions
While applying tape-in extensions on your own is totally possible, there are a few common mistakes to watch out for:
1. Applying the Tape Too Close to the Scalp:
Make sure to leave a little gap between the root of your natural hair and the tape. If it’s too close, the tape may pull on your scalp and cause discomfort.
2. Using Too Much Product:
Avoid using hair oils or heavy products near the tapes before applying them. The tapes need a clean surface to adhere properly, and excess product can make them slide out prematurely.
3. Not Staggering the Tape-Wefts:
If the tape wefts are placed directly above or below each other, they can create visible gaps. Staggering them slightly gives a more natural and seamless look.

Conclusion
You can totally apply tape-in hair extensions yourself with a little patience and practice. By following the steps outlined above and taking care to avoid common mistakes, you’ll be able to enjoy gorgeous, long-lasting hair extensions without a salon visit. Just remember, a little prep goes a long way, and soon enough, you’ll be a pro at it!
Need more tips? Check out our video tutorial on applying tape-in extensions for a visual guide to simplify the process.
Hibiscus Hair Manufacturer has been focusing produce high quality tape hair extensions for 25 years and are an industry leader in this field. If you are interested and want to find a reliable hair extensions supplier, please check for our more details.
TAPE IN HAIR


