So, you’re a pro stylist or salon owner, and you’re looking to up your game with U-tip hair extensions. Whether you’re new to this method or looking for some tips to perfect your technique, this guide will help you get it right every time. Let’s break it down step by step.
To apply U-tip hair extensions, you’ll need a heat fusion tool, sectioning clips, and the right keratin tips. The process involves heating the keratin tip until it melts, then fusing it to the client’s natural hair. It’s essential to be precise with the placement and temperature to ensure a flawless application.
There’s a lot more to U-tip extensions than just the application. From preparation to maintenance, I’ve got all the details you need to ensure your clients walk away with perfect, long-lasting results.

What Are U Tip Hair Extensions?
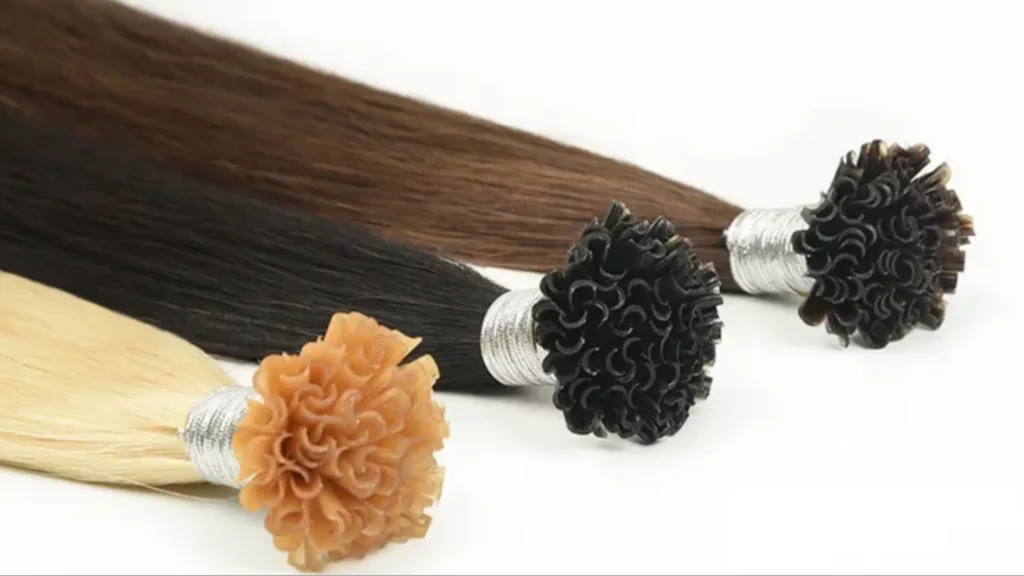
U-tip hair extensions are a type of pre-bonded hair extension that comes with keratin tips shaped like the letter “U.” These extensions are applied by melting the keratin with a heat fusion tool and bonding them to the natural hair. They are ideal for clients who want a seamless, long-lasting solution for adding volume and length to their hair.
Why Choose U Tip Extensions?
U-tip extensions are one of the most durable and discreet extension types available. They provide a natural look because the bond lies flat against the scalp, making it almost impossible for others to notice. The keratin bond is also gentle on the natural hair, provided it’s applied correctly, making it a favorite for clients who want long-term results.
Natural Look and Feel: The keratin bond sits close to the scalp, providing a natural, seamless finish.
Long-Lasting: When applied correctly and maintained well, U-tip extensions can last for up to 6 months.
Customizable: Ideal for clients with all hair types and textures.

How to Apply U Tip Hair Extensions
Step 1: Preparation
Before you even touch the extensions, make sure you have everything ready:
Hair: Clean, dry, and detangled hair. Make sure there’s no product buildup, as this can interfere with the bond.
Tools: You’ll need a heat fusion tool, sectioning clips, and U-tip hair extensions.
Protective Gloves: Safety first. Keratin bonds get hot, so wear gloves to avoid burns.
Step 2: Section the Hair
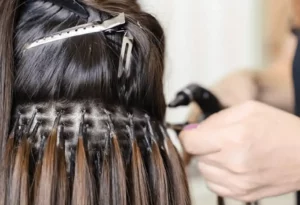
Start by sectioning your client’s hair. Use clips to divide the hair into small, manageable sections. This will make the process more controlled and precise.
Step 3: Heat the Fusion Tool
Set your fusion tool to the appropriate temperature (usually around 130°C to 150°C). Too hot, and you risk damaging both the extensions and your client’s natural hair; too cold, and the bond won’t hold.
Step 4: Apply the U-Tip Extensions
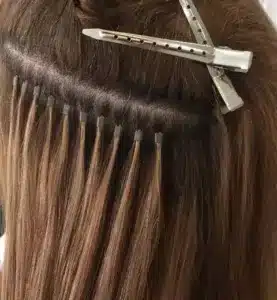
Take a small section of the client’s natural hair and hold the U-tip extension close to the root. Use the fusion tool to melt the keratin bond, then press the bond gently against the natural hair to fuse it. Hold the bond in place for a few seconds to ensure it sticks securely.
Step 5: Repeat the Process
Continue working in small sections, applying the U-tip extensions one by one, ensuring the bonds are spaced evenly and not too close to the scalp. Make sure the bonds are not too bulky; they should be smooth and flat for a seamless finish.
Step 6: Final Touches
Once all the extensions are applied, comb through the hair to check the placement. You may need to trim or blend the extensions to make sure they match the natural hair length and texture perfectly.
Maintenance and Aftercare
Just like any other hair extension method, U-tip extensions require regular maintenance. Here’s what you should advise your clients to do:
Regular Touch-Ups
Because natural hair grows, the bonds will eventually shift downwards. U-tip extensions typically need to be moved up every 6-8 weeks to keep them looking fresh and secure.
Avoid Oil-Based Products
While your client should still use nourishing hair products, advise them to avoid oil-based shampoos and conditioners near the keratin bonds. These can break down the bond over time, leading to premature shedding.
Proper Washing and Drying
Your client should wash their hair gently, avoiding vigorous scrubbing near the roots. It’s best to air-dry the extensions or use a blow dryer on a low heat setting.
Common Mistakes to Avoid
Not Properly Heating the Fusion Tool: If the tool is too hot, it can burn both the extensions and natural hair; too cold, and the bond won’t hold. Always check the temperature!
Overcrowding the Sections: Applying too many extensions in one section can make the hair look bulky. Ensure you’re applying a manageable amount per section.
Ignoring Client’s Hair Type: Not all hair types are suited to the same bonding techniques. Make sure the client’s natural hair texture is a good match for U-tip extensions.

Conclusion
Applying U-tip hair extensions requires patience, precision, and the right tools. When done correctly, they offer clients a long-lasting, natural-looking extension solution. By following the right technique and keeping up with regular maintenance, you’ll deliver exceptional results that keep clients coming back. Whether you’re adding volume or length, U-tip extensions are a versatile and reliable choice for your salon.
Hibiscus Hair Manufacturer has been dedicated to producing high-quality I tip hair extensions for 25 years and is a recognized leader in the industry. If you are interested in finding a reliable hair extensions supplier and wholesale for your brand, please visit our website for more information:


