
Your clients want long, thick, seamless hair—but that can go wrong fast if you don’t know what you’re doing with tape-ins.
Tape in hair extensions are lightweight, nearly invisible, and fast to install. But choosing the right type and applying them correctly makes all the difference.
You want longer-lasting results, happy clients, and minimal damage? Then stay with me—this guide walks you through every critical part of the tape-in process.

What Are Tape in Hair Extensions?
Most stylists know about tape-ins, but few know how many varieties exist—and what makes each unique.
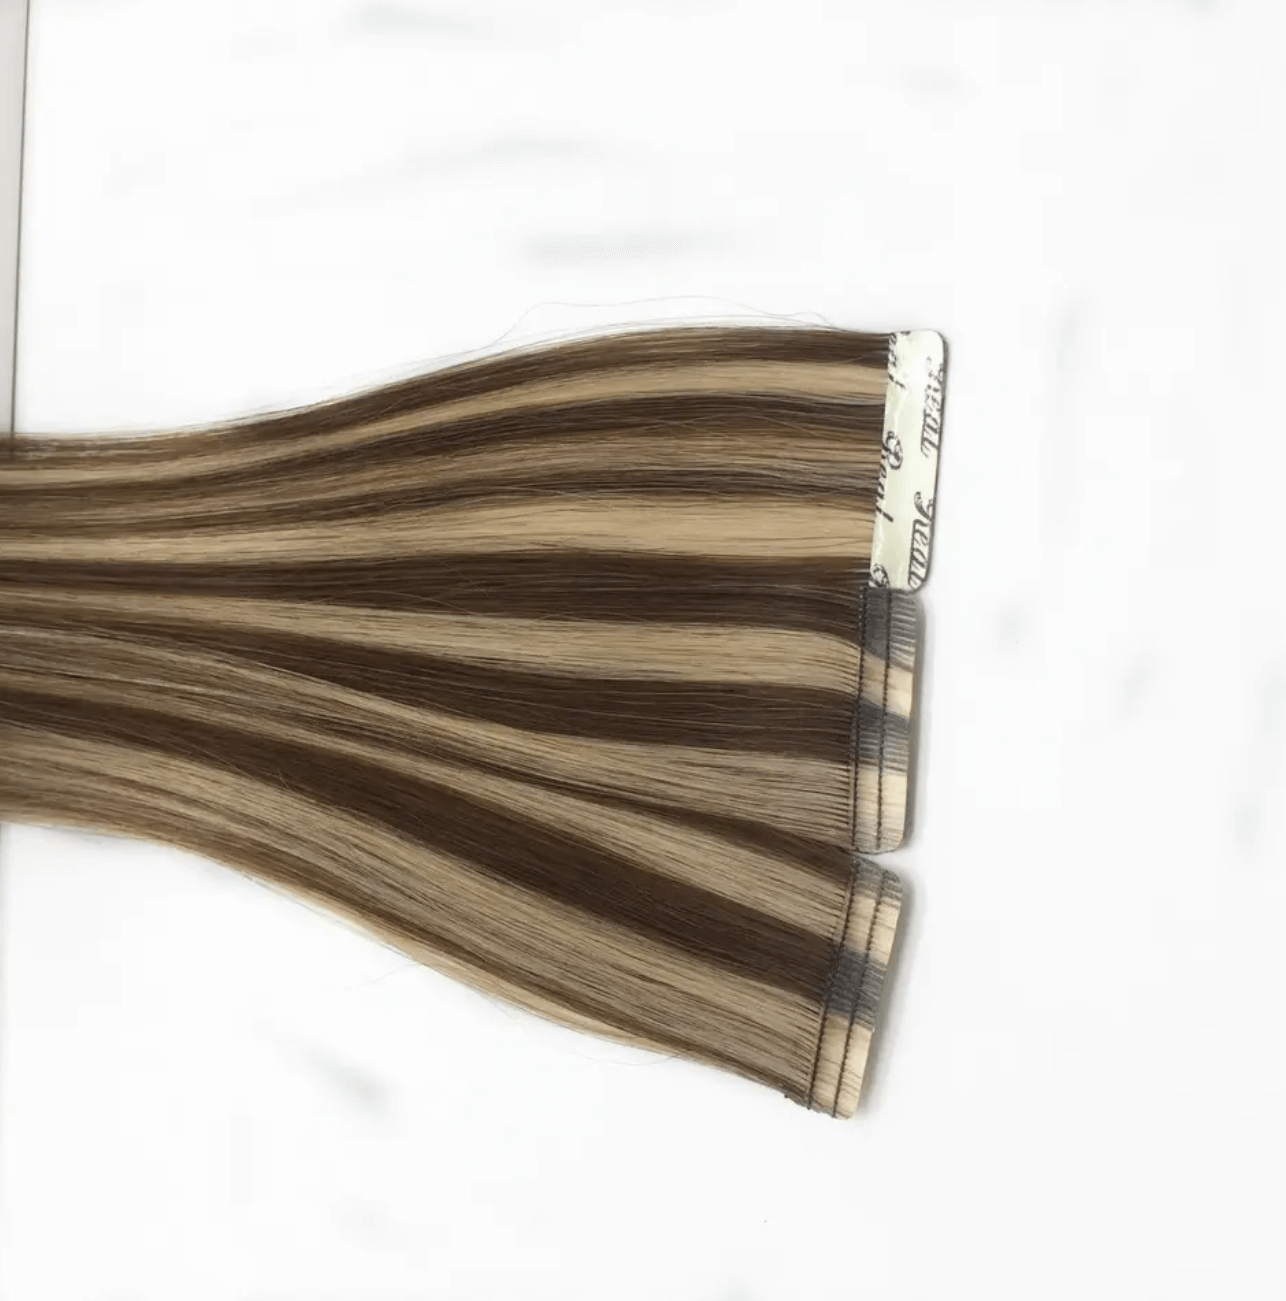
Tape-in extensions are pre-taped hair wefts applied close to the scalp using adhesive. They lay flat, are reusable, and come in different designs suited for different hair types and purposes.
Different Types of Tape in Hair Extensions
| Type | Key Features | Best For |
|---|---|---|
| Classical Tape In | PU-based “sandwich” style | All hair types |
| Invisible Tape In | PU base with injected hair | Maximum invisibility |
| Stitched Tape In | Fabric-stitched base | Durability and strength |
| Micro Tape In | Fold-over petal design | Fullness and natural look |
| Mini Tape In | Small discreet tapes | Fine or thinning hair |
| Invisible Tape Weft | Pre-taped sleek weft | Fast installs with invisible finish |
| Long Tape Weft | Longer pre-taped strip | Speed and ease in application |
Classical Tape In Hair
Classic tape-in hair extensions use a PU adhesive tab to sandwich the client’s natural hair between two tape sections. This method provides a secure hold and easy maintenance. It’s ideal for salon owners who need flexible extensions for volume, length, or color blending.

Invisible Tape In Hair
The invisible version has hair injected into a clear PU base, mimicking scalp growth. This offers the most undetectable look and is often chosen by luxury stylists serving high-end clients.

Stitched Tape In Hair
Stitched tape adds a layer of fabric to the adhesive side, making the extension more durable and less prone to shedding. It’s a practical option for clients who want to wear the extensions longer.
Micro Tape In Hair
Micro tape is installed with a unique folding method, ideal for clients needing a more spread-out and voluminous effect. It offers increased styling options and blends naturally.

Mini Tape In Hair
This version uses smaller tabs for discreet application, especially in areas with fine or thinning hair. It offers strong hold with a very lightweight feel.

Invisible Tape Weft
Pre-taped and designed with advanced injection tech, this tape weft delivers full coverage with a fast, simple application. It’s widely used in the wholesale market for Remy hair.
Long Tape Weft Hair Extensions
Similar to Invisible Tape Wefts but with longer strips. Designed for time-saving applications, these wefts are ideal for high-turnover salons.

How to Put in Tape in Hair Extensions?
Even the best hair quality fails without proper installation.
Each tape-in method requires its own technique. The better you match the method to the client’s needs, the better the results.
Sandwich Method
Used for Classical, Invisible, and Stitched tape.
- Section out a clean, thin layer of the client’s natural hair.
- Place one tape-in below the section.
- Press another on top to sandwich the natural hair in between.
- Use a flat iron for 1 second or finger pressure to seal.
Fold Method
Used for Micro and Mini tape-in hair.
- Peel back the backing paper of the tape.
- Fold it over a small section of the client’s hair.
- Press to secure.
- Ensure balanced distribution on both sides of the tape.
Stick Method
Used for Invisible Tape Weft & Long Tape Weft.
- Section the hair in horizontal rows.
- Peel off backing and apply weft directly on the hair.
- Press down using hands or a tape extension tool.
- Continue row by row.
How to Maintain Tape in Extensions?
Aftercare makes or breaks the longevity of your tape-in work.
Maintaining tape-in extensions requires careful client education and proper salon follow-up.
Shampoo Tips
- Use sulfate-free, lightweight shampoos.
- Avoid applying conditioner near the roots.
- Wash 2–3 times a week only.
Brushing Tips
- Use a loop or extension-safe brush.
- Brush from tips to root.
- Hold the top of the wefts while brushing.
Sleeping Tips
- Braid hair loosely or use a silk bonnet.
- Never sleep with wet hair.
Heat Styling Tips
- Use low to medium heat only.
- Avoid applying direct heat near adhesive areas.
What Not to Do with Tape in Extensions?
Tape-in extensions can slip, break, or cause damage if clients aren’t careful.
These mistakes are common—and preventable.
Don’t Apply Oils Near the Roots
Oils loosen adhesive bonds.
Don’t Pull Wet Hair
Hair is weakest when wet. Tugging may loosen the tapes.
Don’t Use Clarifying Shampoo
These strip natural oils and weaken the tape.
Don’t Skip Maintenance Appointments
Waiting too long will cause matting and slippage.
How to Remove and Move Up Tape in Extensions?
Reinstallation is key to protecting client hair and preserving the extensions.
Removal should be gentle, while reinstallation should re-secure the hold.
Removal
- Use an alcohol-based remover.
- Apply generously and wait 30 seconds.
- Gently peel tape pieces apart.
- Comb out residue.
Clean the Weft
- Remove all adhesive.
- Shampoo and dry the extension.
- Re-tape using professional-grade tabs.
Move-Up
- Section new row near the scalp.
- Reinstall using original application method.
- Ensure correct spacing to avoid tension.
Timing
- Move-up appointments every 6–8 weeks.
- Replace tape tabs after each use.
How to Make Tape in Extensions Stay in Longer?
Consistency comes from both product quality and technique.
Making tape-ins last longer increases client retention and profitability.
Proper Sectioning
Thin, clean sections allow better adhesion and blending.
Quality Tape Tabs
Always use professional-grade double-sided tape made for extensions.
Client Education
Train clients to avoid oils, use proper shampoos, and follow styling tips.
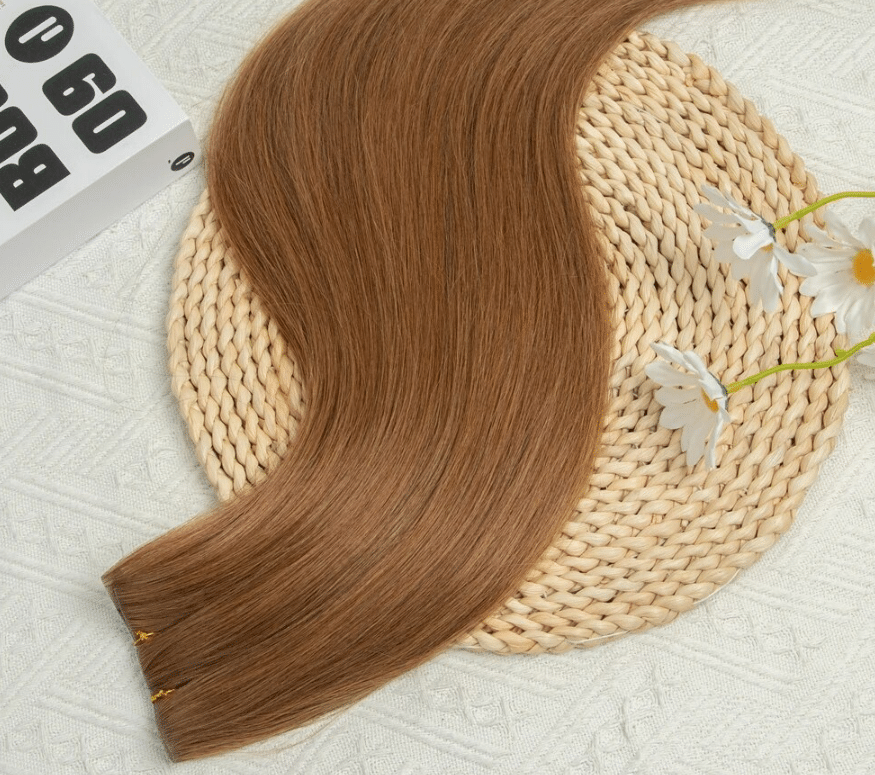
Use Full Cuticle Hair
Virgin, full cuticle Remy hair like Hibiscus Hair offers better longevity and less tangling over time.
My Opinion
At Hibiscus Hair, we’ve worked with over 300+ salon brands. What we’ve seen consistently is that tape-ins offer massive returns when matched with the right training and product quality.
The best-performing stylists we supply use full cuticle, single-donor hair and educate their clients after every install. Whether you’re dealing with classical tape-ins or the newer invisible tape wefts, it’s always the blend of skill + hair quality + client habits that determines success.
If you’re not using full cuticle hair or you’re rushing through application, it’s like putting premium tires on a misaligned car.
FAQ
Q: How long do tape-in extensions last?
A: 6 to 8 weeks per install, up to 12 months with proper care and reuse.
Q: Can clients swim with tape-in extensions?
A: Yes, but it’s best to use a swim cap and rinse hair immediately after.
Q: Do tape-ins damage natural hair?
A: No, if applied and removed correctly by a professional.
Q: How many packs do I need for a full head?
A: Usually 3 to 4 packs (30 to 40 pieces) depending on volume desired.
Q: What’s the difference between Invisible Tape and Classical Tape?
A: Invisible has hair injected into the tape base for a scalp-like finish. Classical is PU-based and slightly more visible.
Conclusion
Mastering tape-in extensions comes down to selecting the right type, applying them precisely, and educating your client on maintenance.


