Looking to master the art of hand-tied extensions? You’re in the right place! I’ll walk you through everything you need to know about installing these extensions for a flawless, natural result. Ready to elevate your skills? Let’s dive into the details!
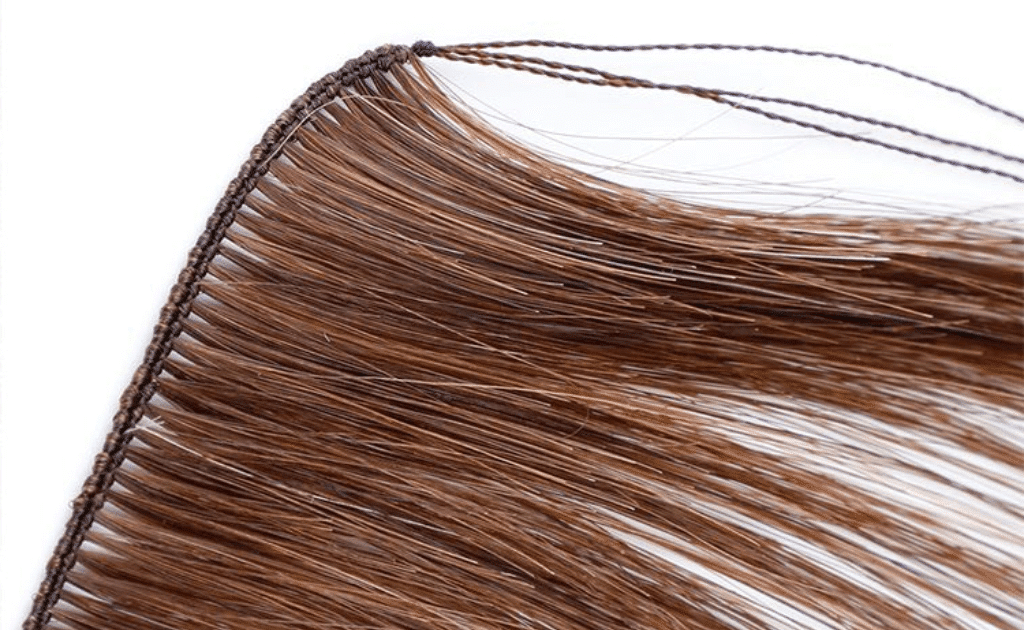
Hand-tied extensions are installed using a beaded track method, where beads are placed along sections of natural hair to form the foundation. The wefts are then sewn to the track without using heat, glue, or chemicals. This process ensures a smooth, natural, and long-lasting installation.
If you’re wondering about the steps involved or need a few tips for a smooth, secure install, keep reading. We’re going to break it all down—from prepping the hair to ensuring your work stays comfortable and looks stunning for weeks.

The Step-by-Step Process for Installing Hand Tied Extensions
Hand-tied extensions are a great way to offer clients a natural, voluminous look. While the process can seem a bit intricate, it’s highly rewarding once you get the hang of it. Here’s how to install these extensions with precision.
1. Prepping the Hair
Preparation is key to ensuring your extensions stay secure and look natural.
Shampoo and Dry: Make sure the client’s hair is freshly washed and dried. This removes any oils that could affect the beads’ grip or the extensions’ longevity.
Sectioning: Divide the hair into clean, horizontal sections, starting from the nape and working your way up. The size and number of sections depend on how much volume and length you’re adding, but each section should be neat and evenly parted.
2. Creating the Beaded Track
The beaded track is what holds the extensions in place without causing damage to natural hair.
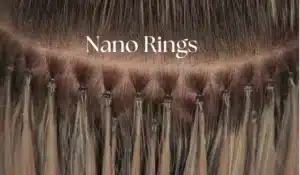
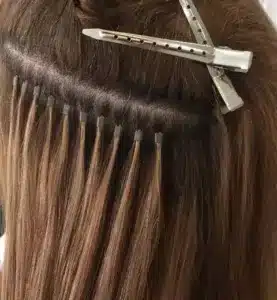
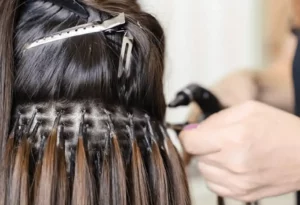
Placing the Beads: Using a bead tool, place small beads about 1-2 inches apart along the hair sections. It’s essential that beads are evenly spaced to ensure the wefts lay flat and blend seamlessly with the natural hair.
Clamping the Beads: Slide each bead up to the root of the natural hair and clamp it down using a crimping tool. Beads should be snug but not too tight, allowing for movement while maintaining a secure foundation.
3. Sewing the Hand-Tied Wefts
Now it’s time to attach the hand-tied wefts to the beaded track. This is where your sewing skills come in!
Positioning the Wefts: Start with the bottom row and place the hand-tied weft directly on the beaded track. The weft should be lined up with the natural hair, ensuring that it’s hidden and blends well.
Attaching the Wefts: Use a curved needle and strong thread to sew the weft onto the beads. Stitch through the beads, creating a tight yet flexible connection. Repeat this for every row of wefts, working from the bottom up.
4. Cutting and Blending the Extensions
Once the extensions are installed, it’s time to make them blend perfectly with the client’s natural hair.
Cutting the Extensions: Trim the wefts to match the desired length. Don’t forget to layer the hair to ensure that the extensions blend with the natural hair seamlessly.
Blending for Natural Look: Use your shears to blend the extensions into the natural hair, cutting the hair at various angles for a more natural, flowing look.
5. Finishing Touches
Now that the extensions are securely in place, let’s wrap up the process with a few finishing touches.
Check for Comfort: Ensure the client doesn’t feel any discomfort or tightness. Adjust the beads or rows if needed.
Final Styling: Style the extensions as requested by the client. Whether they want sleek, straight hair or loose waves, hand-tied extensions can handle various styling techniques, from curling to blow-drying.
Additional Tips for Success
To ensure the best results and a comfortable installation, here are a few expert tips:
Avoid Overcrowding the Beads: Beads should be spaced evenly, but not so close together that they crowd the hair. This can make the scalp feel uncomfortable and affect the lifespan of the extensions.
Work with Small Sections: Using smaller, well-defined sections of hair ensures a more secure and smooth application.
Use High-Quality Tools: Invest in durable bead tools, crimpers, and thread to make the installation process smoother and more efficient.
Why Hand Tied Extensions?
Hand-tied extensions are an excellent choice for creating a natural-looking, low-maintenance hairstyle. They’re particularly favored for:
Seamless Appearance: The wefts are thin and flexible, meaning they lay flatter against the scalp compared to other types of extensions, giving a more natural finish.
No Damage: Since the installation uses no heat, glue, or chemicals, it’s gentle on the client’s natural hair and scalp, making it ideal for those looking for a non-invasive extension option.
Long-Lasting: Hand-tied extensions are durable and, when installed correctly, can last for several weeks with proper care.

Final Thoughts
Hand-tied extensions might take a little practice to perfect, but once you’ ve mastered the technique, you’ll be able to offer your clients a stunning, seamless look that they’ll love. With the right tools, technique, and attention to detail, you’ll ensure your installations are not only beautiful but long-lasting.
Ready to get started? The key is practice and patience, but with every set you install, you’ll only get better. Keep experimenting, refining your skills, and soon enough, you’ll be the go-to pro for hand-tied extensions in your salon!
Hibiscus Hair Manufacturer has been dedicated to producing high-quality handtied weft hair extensions for 25 years and is a recognized leader in the industry. If you are interested in finding a reliable hair extensions supplier and wholesale for your brand, please visit our website for more information:


