If you’ve ever had a client worry about their clip in extensions slipping out—or worse, had a customer come back saying their clip ins didn’t stay in—it’s a reminder of just how crucial secure wear is in the world of temporary hair extensions.
Yes, clip ins can fall out—but not because they’re inherently flawed. Most issues stem from incorrect installation, poor-quality clips, or hair that hasn’t been prepped properly. When U start with the right technique, use high-quality clips, and apply them to textured, medium-density sections, the result is a secure and comfortable hold that lasts all day.
Let’s break down why they sometimes slip, how to prevent it, and what professionals like U can do to deliver reliable results every time.

Why Do Clip in Hair Extensions Fall Out?
Let’s walk through the most common reasons clip ins come loose—and what to do about it.
1. Low-Quality Clips with Weak Grip
The clip is the anchor point of the extension. If that anchor fails, the entire system collapses.
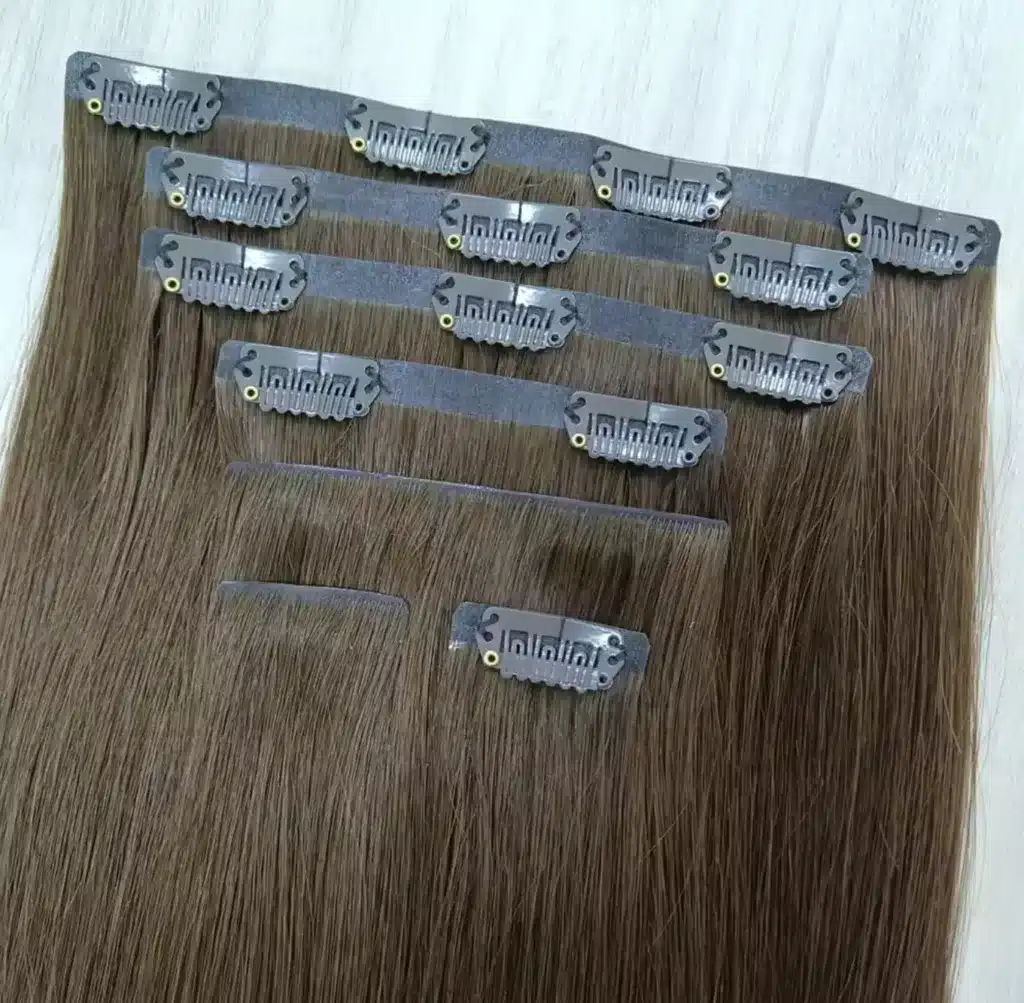
Poorly manufactured clips often lack proper spring tension. They may feel loose after just a few uses, or worse, never grip well from the start. Many inexpensive clip ins also skip the silicone lining—a critical feature that creates a soft but secure friction against natural hair strands.
Without silicone, clips slide—especially on fine, silky, or freshly washed hair.
What to look for in professional clip ins:
Double-stitched clips for added durability
Silicone-lining to grip without damaging natural hair
Anti-corrosion finish to prevent rust after washing
Strong snap tension that retains shape after repeated use
Investing in high-quality clips might seem small—but it’s a major factor in client satisfaction and brand trust.
2. Hair Not Properly Prepped
Even the best clips can’t hold if the base they’re attached to is too slick.
Hair that’s freshly conditioned, oily, or too clean lacks the texture needed to hold clip ins securely. Without a little grip, the clip will simply slide off—especially when the client moves, brushes their hair, or changes outfits.
Professional prep tips:
Use dry shampoo or a texturizing spray before installation to build friction at the roots
Lightly tease the roots where the clip will attach—this gives the teeth of the clip more to “grab” onto
Make sure the hair is completely dry—moisture can reduce grip and create slippage
This step is often skipped by clients applying clip ins themselves, so educating them—or offering prep as a service—can reduce complaints and increase wear time.
3. Incorrect Sectioning: Not Too Thin, Not Too Thick
Precision sectioning is where many installations fail—even by trained stylists.
Let’s be clear: the clip must have the right amount of hair to hold on to.
Too thin, and the clip lacks enough support. The weft may droop, shift, or slide out entirely with minor movement.
Too thick, and the clip can’t close fully. It “pops” open over time or feels bulky against the scalp.
Ideal sectioning allows the clip’s teeth to surround the hair and snap closed snugly—without stress or over-compression. This balance ensures long-lasting hold without damaging the natural hair underneath.
Always check your first clip after installation. If it pulls or slips with light pressure, the section needs adjusting.
4. Poor Clip Placement Strategy
Even with the right clips and sectioning, positioning is everything. Strategic placement balances both aesthetics and functionality.
Installing clip ins too close to the hairline or crown—where hair is finer and visibility is high—increases the risk of slippage and exposure. On the flip side, placing all the wefts in one area creates uneven weight, pulling on the natural hair and reducing grip.
Professional placement guide:
Start with a solid anchor row just below the occipital bone
Add side pieces just above the ears or mid-temple for volume
Avoid areas near the crown or edges, unless density is strong
Maintain an even distribution of weight from side to side
If clip ins feel heavy or uncomfortable, the placement likely needs rebalancing.
5. Using the Wrong Number or Weight of Wefts
Not every head requires a full 10-piece set. And sometimes, less is more.
Adding too many wefts overloads the natural hair, especially in fine or medium-density clients. On the flip side, using too few can create uneven pressure, causing clips to slip from lack of support.
Suggested weft usage by hair type:
Hair Type Recommended Wefts
Fine Hair 4–6 pieces
Medium Hair 6–8 pieces
Thick Hair 8–10+ pieces
Use lighter wefts at the top for better concealment, and save the heavier wefts for the base where the hair is strongest.

How to Make Sure Clip ins Stay Secure
Here’s your checklist for every professional clip in install:
✅ Use high-grade silicone-lined clips
✅ Prep hair with texture or teasing at the roots
✅ Avoid installing on wet, freshly conditioned hair
✅ Section with just the right density—not too thin, not too thick
✅ Balance the wefts based on client density
✅ Educate clients on care and removal for best longevity
When these steps are followed, slipping becomes rare—and client satisfaction increases significantly.
When Clip ins Might Not Be the Best Option
Clip ins are great for temporary transformations, but they’re not ideal in every situation.
Consider alternatives if your client:
Has medically-related thinning or sensitive scalp conditions
Is seeking long-term, low-maintenance volume
Plans to sleep in extensions or wear them around the clock
Has ultra-fine hair with minimal base support for clips
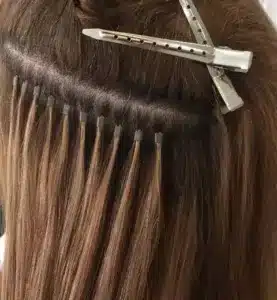
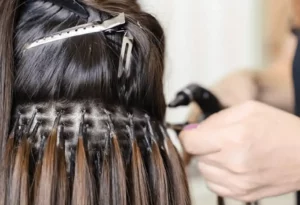
For these clients, halo extensions, tape-ins, or keratin tips often offer a better solution with less stress on the natural hair.
FAQ: Clip in Hair Extensions
Q1: Why are my clip ins sliding out throughout the day?
That usually points to improper prep or weak clip tension. Make sure the hair is dry, textured at the root, and clipped to a medium-thickness section. If the clips are worn or don’t close tightly, it’s time to replace the set.
Q2: Can I sleep with clip in extensions in?
It’s not recommended. Clip ins aren’t meant for overnight wear. Sleeping with them can cause pulling, discomfort, and tangling. It also stresses the clips, shortening their lifespan.
Q3: Will clip ins stay in if I’m dancing or moving a lot?
Yes—provided they’re installed correctly. Secure placement, proper sectioning, and good clip quality will keep them in place during light activity. For vigorous movement, consider adding a few discreet bobby pins as backup.
Q4: What’s the best way to prep the hair before using clip ins?
Dry hair performs best. Use a dry shampoo or texturizing spray to add friction at the roots. Lightly backcombing each section where a clip will sit gives the weft something to grip onto. Avoid heavy serums or oils.
Q5: Can clip ins work for clients with thin or fine hair?
Yes, with care. Use fewer wefts, avoid heavy pieces, and always add texture before clipping. Halo extensions can also be a gentler option for ultra-fine hair with low density.
Q6: What causes clip ins to “pop” open during wear?
This happens when the section is too thick. The clip can’t fully close and hold its grip, so it springs open under tension. Always use moderate-density sections and check the clip’s placement before finishing the style.

Final Thoughts
Clip in extensions offer flexibility, speed, and style on demand—but they only work when applied with professional attention to detail. From clip quality and sectioning to placement and prep, each step plays a role in long-term comfort and performance.
As a stylist or salon owner, the goal isn’t just to install extensions—it’s to ensure they stay put, feel great, and exceed client expectations.
At Hibiscus Hair, we craft premium-grade, full cuticle clip in extensions built for durability and salon-level performance. Whether U install them yourself or resell to clients, quality matters. And that quality starts at the source.
Need secure, professional-grade clip ins for your salon or brand?
Let Hibiscus Hair be your trusted factory partner.
Let me know if you’d like this formatted into a blog post layout for your website, or if you’d like to tailor this content for an ad, brochure, or product page.


