Have U ever bought a clip-in set and thought, “The color matches, but the length feels too long”? That moment is common. It is also where people make fast cuts and regret them.
Yes, clip in hair extensions can be cut. A good cut makes the set look like real hair, not a removable piece. The safest method is to shape the hair while it is worn, keep the clips and seams untouched, and cut the whole set as one balanced style.

This guide explains what can be cut, what should never be cut, and how to avoid uneven pieces that ruin the blend.
Can you cut clip in hair extensions at all?
Have U heard someone say clip-ins should never be cut because the set will look uneven? That risk is real, but it is easy to control.
Clip-in hair extensions can be trimmed and shaped. Cutting is often needed because clip-ins come in standard lengths, while natural hair has its own shape and layers. The main rule is simple: cut the hair, not the base where the clips are sewn.
Dive deeper
Clip-ins are built as separate wefts with clips. Each piece has a different width and a different job on the head. When U cut them, U are not just cutting “hair.” U are changing how each piece lines up with the next piece.
That is why clip-ins can be cut, but they should be treated like a set. Many people cut one weft to “test.” Then the rest does not match. The result is a stepped line or a hole in the perimeter. The safe way is to plan the final shape first. Then U cut in small steps.
A second point is hair quality. Human hair clip-ins can be cut like natural hair. Still, the ends can fray if the stylist uses a razor or aggressive thinning. A clean shear cut stays smoother. A heavy razor cut can create fuzzy tips that tangle faster, especially on processed hair.
A third point is density. Clip-ins often feel thicker at the ends than natural hair. If a client asks for very heavy layers, the set may lose weight quickly. That can make the bottom look thin. So the cut should aim for blend, not extreme texture.
| Cutting decision | Good outcome | Common mistake | Better approach |
|---|---|---|---|
| trim the ends | cleaner, natural perimeter | cutting one piece only | cut after placing full set |
| add soft layers | smoother blend | too much thinning | point-cut small sections |
| shorten a lot | matches short hair | uneven steps between wefts | measure each weft position |
What should never be cut on clip-in extensions?
Have U seen a clip-in piece that starts shedding right after a haircut? Many times, the cut went too high.
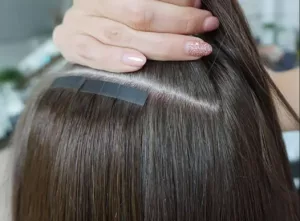
The clip base, stitching, and seam area should never be cut. Cutting into the sewn line can weaken the weft, loosen the clips, and cause shedding. The safe cutting zone is below the seam, where only loose hair is present.
Dive deeper
The clip-in base is a structure. It holds hair by stitching. It also holds the clip hardware. If scissors cut into that seam, the thread can break. Even a small nick can spread after brushing and washing. The result is a loose clip, a lifted base, or hair fall.
There is another risk. Some people cut the top edge to reduce weft height. That is a bad trade. It can remove the sealed area that keeps the hair stable. It can also expose the stitch and make it scratchy on the scalp.
The safer solution is to pick the correct set design instead of cutting the base. For example, if a client needs a very flat fit, a thinner seam design works better. If a client has fine hair, smaller wefts and less weight are better. If U are a salon owner, this is a sourcing point. The right clip-in construction reduces cutting mistakes later.
If U must adjust the set for comfort, the better option is to reposition clips, not to cut the seam. Some suppliers can offer custom clip placement at production. That keeps strength and keeps the set safe.
| Part of clip-in | Cut allowed? | What happens if cut | Safe alternative |
|---|---|---|---|
| hair length ends | yes | normal trim | use sharp shears |
| seam / stitch line | no | shedding, weak base | choose better construction |
| clip hardware area | no | clip loosens | move clip placement |
| top edge height | no | scratchy base | buy lower-profile weft |
Is it better to cut clip-ins while wearing them or off the head?
Have U tried cutting clip-ins on a table, then clipped them in and found the shape looks wrong? That happens because hair falls differently on the head.
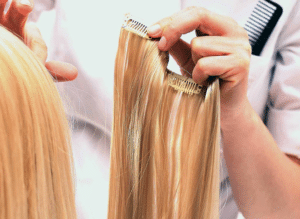
Cutting while the clip-ins are worn usually gives the most natural result. Cutting off the head can work for simple length reduction, but it is risky for shaping and blending.
Dive deeper
Hair moves with gravity and head shape. Clip-ins sit on curved sections. When U lay them flat, the hair falls straight. That makes it easy to cut a clean line, but it does not show the true shape.
On-head cutting shows where the natural hair ends, where the clip-ins start, and where the density changes. It also shows if the set creates a shelf line. That shelf line is the main reason people cut clip-ins. The goal is to remove the visible step without removing too much length.
Off-head cutting works best when:
- the goal is to remove 1–2 inches of length across the set
- the set is new and ends are thick
- the client does not need layers
On-head cutting works best when:
- the client has layers
- the client has fine ends
- the client needs face framing or perimeter shaping
For salons, a practical workflow is to mount the set on a mannequin head at the same placement as a real client. That creates repeatable results for online customers too. It also allows a brand to offer “pre-shaped” clip-in sets.
| Method | Best for | Risk | Control tip |
|---|---|---|---|
| on-head cut | blending and shaping | low | cut slowly and check balance |
| off-head cut | simple length trim | medium | measure each weft location |
| mannequin cut | repeatable set design | low | label each weft position |
How to cut clip in hair extensions without ruining the set?
Have U ever seen a clip-in set that looks choppy because each piece was cut differently? That is the most common failure.
The safest process is: place the full set, set the final length line, then refine the blend with small point cuts. U should keep cuts minimal on the smallest wefts and do most shaping on the longer back wefts.
Dive deeper
Clip-ins come in pieces. That is both the advantage and the risk. The advantage is flexibility. The risk is mismatch.
A careful cutting flow looks like this:
1) Clip in the full set as the client will wear it. The hair should be styled the same way the client usually styles it.
2) Comb and settle the hair. The hair should sit naturally before any cut.
3) Decide the perimeter. The perimeter is the final bottom line.
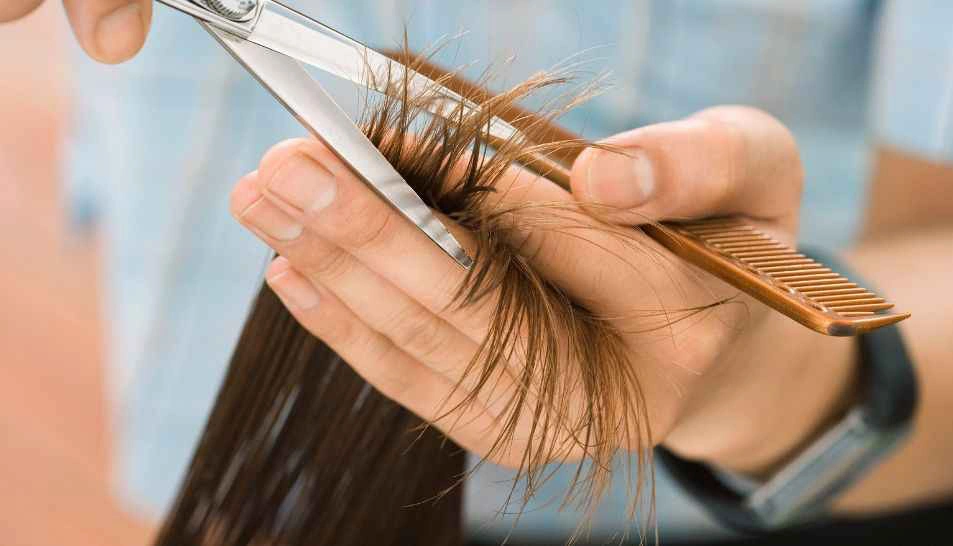
4) Trim the perimeter first. A small trim removes bulk and makes the ends fresh.
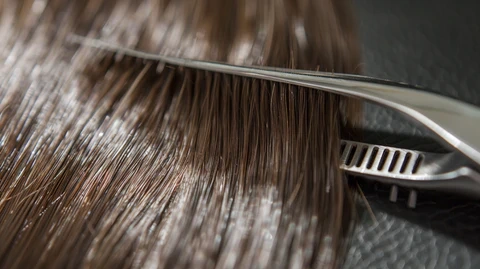
5) Blend the natural hair into the extensions. This step should use point cutting, not heavy thinning.
6) Check each weft transition. The transitions are where shelves appear.
7) Finish with light styling. Then check again.
The key is that each weft does not need the same cut. Smaller side wefts often only need end trimming. The main back wefts often need the blend work. When people cut every weft into layers, the set loses structure.
Another key is tool choice. Sharp shears cut clean. Dull scissors crush ends. Razors can shred ends and increase tangling. If a stylist wants softer movement, a small amount of point cutting gives that without fraying.
| Step | Purpose | What to avoid | What to do instead |
|---|---|---|---|
| perimeter trim | set final length | big cut first | cut 0.5–1 cm, recheck |
| blending | remove shelf line | thinning too much | point cut only where needed |
| symmetry check | avoid uneven sides | cutting without measuring | mirror check + side-to-side compare |
Can clip-in extensions be layered?
Have U been asked for a layered look with clip-ins, like a salon blowout style? That can be done, but it needs limits.
Clip-in extensions can be layered, but the layers should be light and focused. Too many layers can expose the weft edges and make the set look thin at the ends.
Dive deeper
Layering is a balance of shape and coverage. Clip-ins are removable. They can shift slightly during wear. If layers are cut too short, the short pieces can separate and show the line where the extensions start. That is why clip-in layers should be longer and softer than permanent extensions.
Light layering works well for:
- blending with natural hair that has mild layers
- reducing the “block” look at the bottom
- adding movement for curled styles
Layering becomes risky when:
- the client has very short natural hair
- the client has very fine density at the ends
- the set is very thick and needs heavy thinning
A better approach for these cases is to choose a set that matches density, then do minimal cutting. For brands, this is a product strategy. Offering multiple densities or “seamless” designs reduces the need for heavy layering.
A simple rule helps: if the goal is daily wear, keep layers conservative. If the goal is occasional wear for events, U can allow more styling and shaping, but U still protect the seam area.
| Layer goal | Works with clip-ins? | Best approach |
|---|---|---|
| soft long layers | yes | minimal, long point cut |
| strong short layers | risky | better with permanent methods |
| face framing | yes | focus on front pieces only |
Should clip-in extensions be cut wet or dry?
Have U noticed that some hair looks longer when wet and shorter when dry? That effect can mislead the cut.
Dry cutting is usually safer for clip-ins because it shows the true fall and the real length. Wet cutting can be used for a basic trim, but the final check should be done dry.
Dive deeper
Wet hair stretches. That means a wet cut can end up shorter than expected after drying. This is common with wavy hair and with some processed hair. Clip-ins also carry weight, so wet hair can hang longer.
Dry cutting shows:
- the real length
- the real density at the ends
- how curls or waves sit
- where the shelf line appears
A practical approach is:
- wash and dry the set first if the set has factory coating or heavy silicone feel
- style it like the client will wear it
- cut in that final style state
For salons, this also reduces complaints. Clients often wear clip-ins curled. If the cut is done straight and wet, the curled result may look uneven. A dry cut after styling gives a cleaner finish.
| Cutting condition | Good for | Main risk | Best practice |
|---|---|---|---|
| dry and styled | best blend | slower process | small cuts and frequent checks |
| wet | basic trim | can end too short | finish check dry |
| half-dry | quick adjustments | uneven fall | avoid for final shape |
How to keep a clip-in set consistent after cutting?
Have U cut a set once, then later bought another set and found it does not match? Consistency matters for salons and brands.
A consistent clip-in set needs labeling, recording, and a repeatable cutting plan. The simplest method is to label each weft position and record the final length and shape.
Dive deeper
Clip-ins are often sold in sets. When one set gets cut, it becomes a custom shape. If a client wants a second identical set, the brand or salon must replicate the shape. That is hard without a system.
A simple system includes:
- label each weft by position (top, middle, bottom, sides)
- record the final length from seam to end
- record the blend style (blunt, soft, layered)
- keep one photo of the set on a mannequin head
This matters for wholesale buyers too. If U sell clip-ins online, customers may ask for “the same cut again.” A repeat system becomes a service feature.
It also reduces waste. Many returns happen because the customer cut the set wrong. If a brand offers a “cutting guide” plus a recorded layout, the customer gets better results and fewer mistakes.
| Record item | Why it matters | Example |
|---|---|---|
| weft label | prevents mismatch | back-bottom, back-middle |
| seam-to-end length | repeats exact length | 18 inches seam-to-end |
| shape note | repeats style | soft U-shape perimeter |
| photo | reduces misunderstanding | mannequin photo front/back |
My opinion
Clip-ins are easy to cut, but they are easier to ruin when people cut each piece alone. A set-based cutting plan protects the blend and protects the value of the hair.
FAQ
Can U cut clip-in hair extensions shorter?
Yes. The best way is to clip in the full set first, then trim the perimeter slowly.
Can U cut the top of clip-ins to make them thinner?
No. Cutting the seam or base area can weaken stitching and cause shedding.
Can U thin clip-in extensions?
Light thinning can work, but heavy thinning often causes see-through ends and frizz.
Can U cut clip-ins at home?
A client can, but a salon cut looks better because the full set can be balanced on the head.
Do clip-ins need a haircut to blend?
Many clients need at least a small trim to remove a shelf line and match the natural shape.
Can U layer clip-ins for a blowout look?
Yes, but layers should be long and soft. Short layers can show the weft transition.
Conclusion
Yes, clip in hair extensions can be cut. The safe rule is to cut the hair only, keep the seam untouched, and shape the full set as one style.